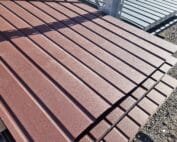
Installation and details
Installing trapezoidal steel roof sheets from the first sheet to the flashings
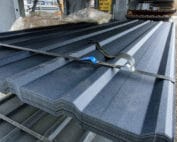
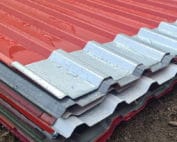
Before the sheets go onto the roof, compare the delivery with the order and confirm that the profile, lengths, steel thickness, colour and outer face match the design. Inspect the edges and surface, and report any transport damage immediately. Also check that the flashings, fasteners and seals suit the specific sheet variant. Remember that the names T18 and T35 alone do not define installation requirements. Tightness depends on laps, flashings and correct fixing, so verifying delivery compliance before work starts is essential.
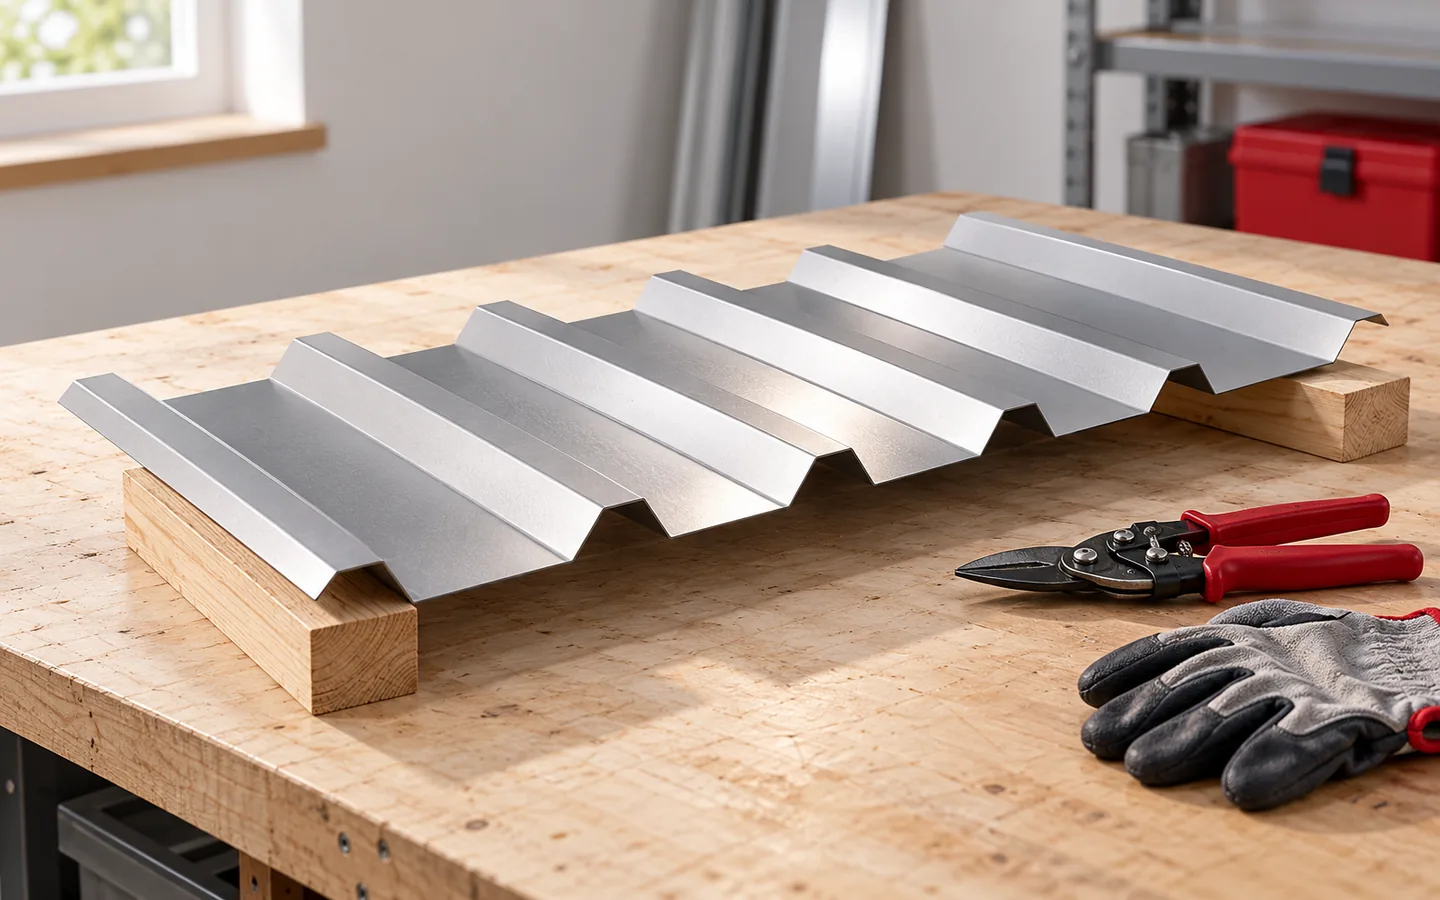
Step 1: what should be checked before bringing the sheets in?
Compare the delivery with the order. Check the profile, lengths, steel thickness, colour and the side intended to face outwards. Inspect the edges and the surface. Transport damage should not be left until the end of the works. Matching flashings, fasteners and sealants are also required. A supply of screws of similar appearance alone does not guarantee correct fixing.
Before starting, the load-bearing capacity and the support spacing must be confirmed. T18 and T35 have different geometries, and the data also differ between variants of the same family. The lengths of the roof slope, the diagonals and the straightness of the eaves are checked. The work must be carried out with appropriate fall protection. Strong wind makes it harder to control the sheet and may rule out safe lifting.
Step 2: how should the support and roof layers be prepared?
The supports should form a surface in accordance with the design. Local unevenness is not corrected by pulling the sheet down with screws. This can distort the profile and impair the connections. In an insulated roof, the appropriate layers and the ventilation path must be prepared in advance. The arrangement with a membrane and counter-battens differs from the uninsulated covering over an open carport.
The membrane under the covering is to drain any water to the correct place at the eaves. It must not end in a way that directs moisture into the insulation. If the sheet has an anti-condensation layer, conditions for it to dry out are still required. Such a layer does not replace thermal insulation or a sealed layer on the interior side. The details at the edges are executed according to the instructions.
Step 3: how should the first strip of covering be positioned?
The first sheet determines the position of the following ones. It must be aligned with the geometry of the roof slope and the eaves line, not with an arbitrary wall edge. The overhang of the covering must work together with the flashing and the gutter. A sheet that is too short may direct water past the drainage, while too large an overhang requires the support to be checked. The alignment should be checked before full fixing.
The laying direction and the side of the overlap are determined by the profile construction. The sheet should not be turned over simply because it fits more conveniently with the remaining part of the roof. The water drainage groove and the edge geometry have a defined position. The successive runs must be checked regularly. A small deviation repeated on every sheet produces a large error at the end of a wide roof slope.

Step 4: how should the laps and fixings be made?
The longitudinal connection runs along the profile, while the transverse connection occurs where sheets are joined along their length. The requirements for the overlap depend on the pitch and the sheet model. The seal must be in the intended place. The designed connection should not be replaced by an arbitrary layer of silicone. Increasing the number of joints can also change the minimum permissible pitch.
Fasteners are selected according to the type of support, material thickness and loads. Screws fixing the sheet to the structure and screws joining the laps may be used separately. Spacing is often denser in the edge zones. The seal should be correctly compressed, without excessive crushing. A universal number of screws per square metre does not replace the fixing design for a specific roof.
Step 5: how should the sheet be cut and the details finished?
For cutting, use tools approved for coated sheet. Processing should not overheat the edges or cover the roof surface with hot filings. Chips must be removed promptly with a soft tool. Sheets must not be dragged over one another. Coating damage is assessed and repaired according to the material recommendations. A large scratch should not be hidden under an arbitrary preparation.
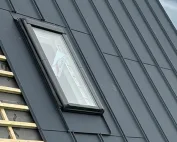
Next, the ridge, side edges and connections to walls are executed. The sequence of flashing components results from the detail, so not all of them are installed only after covering. The ridge is to protect against precipitation and work together with ventilation. Installation penetrations require a proper collar and support. Cutting an opening without preparing the seal is not a completed installation.
Step 6: what does the acceptance of the finished roof area cover?
Check the completeness of the fixings, the position of the laps and the condition of the flashings. Inspect the cut areas, the eaves and the gutters. No filings, film fragments or loose elements should remain on the roof. The inspection also covers the patency of ventilation and the way water is drained from the underlay. It is worth documenting the details before they are covered, especially at roof penetrations.
Acceptance should not be limited to the view from the street. Agree with the contractor how inspections and safe service access will be carried out. Keep the instructions, material labels and purchase documents. After the first heavy rainfall, it is worth checking the attic or the underside of the roof slope from a safe place. Early detection of a leaking detail allows the scope of later repair to be limited.
7 branches. Materials closer to your project.