Installation of sandwich panels
Choosing fixings for mineral wool wall panels
The fastener transfers the load from the panel to the support and helps maintain the tightness of the cladding. Its selection is not limited to a length matching the mineral wool thickness. In a new wall, the wind design, the properties of the substrate and the details of the specific panel must be combined. Only from this does the type and number of fixings follow. Wind acts on the cladding, and the panel transfers its effect through the fixings to the purlins or columns. In this chain, each element has its own limit. This may be the screw-to-support connection, the washer pulling through the sheet, or the retention of the concealed edge of the panel.
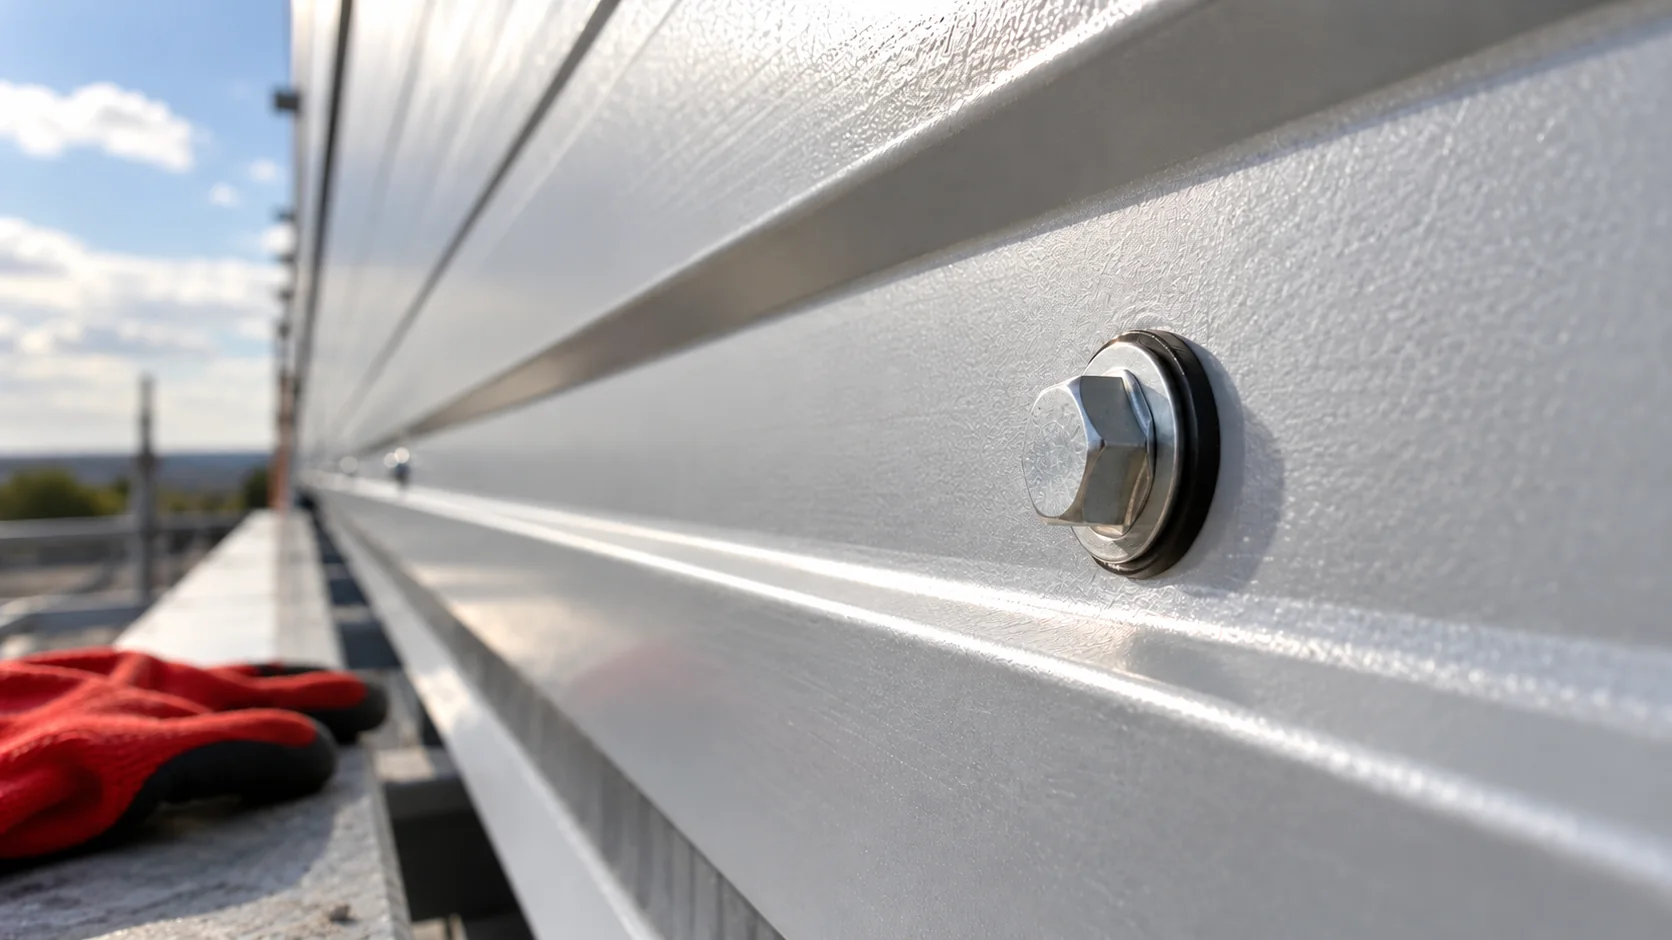
Establish the load path to the frame
The selection should account for both positive and negative pressure. Near a corner, conditions can be more demanding than at the middle of the wall. The number of fasteners is therefore not determined from the entire façade area alone. A plan of load zones and the positions of the actual supports is needed first.
Identify the substrate material and thickness
A screw for a thin-walled steel rail may have different parameters from a fastener for a thick profile, timber or concrete. The drilling range, anchoring capacity and working conditions are important. The fastening should not be selected only by the similar appearance of the tip.
The length must account for the panel thickness, the washer or load-distributing element and the required anchorage. For concrete or masonry, the substrate and edge positions are additionally assessed. A request for one universal screw for the whole building often means that the differences between supports have been overlooked.
Check visible and concealed fixings separately
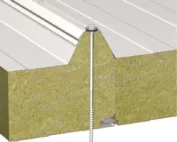
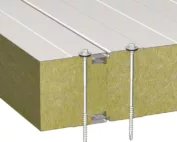
With visible fastening, the fastener passes through the panel at the point intended for the given system. With concealed fastening, the load is transferred through a specially shaped edge. Both solutions require appropriate accessories and are not interchangeable merely because the core has the same thickness.
In a concealed joint, load-distributing elements may be present. Omitting them changes the behaviour of the connection. Before installation, it is worth practising the sequence on one field: placing the seal, positioning the panel, fastening and closing with the adjacent element. Inspection after the fastener has been covered is considerably more difficult.
Select the washer and corrosion protection
The sealing washer must match the fastener and the location where it is used. Its purpose is to distribute the clamping pressure and protect the hole from water. A washer that is too small or accidentally swapped can impair both functions, even when the screw itself has adequate strength.
The material and coating of the fastener should suit the environment on both sides of the wall. This also applies to humid and washable rooms. Record the full type of fixing and accessories in the specification. This makes it easier to check that exactly the same variant was supplied when the order is later replenished.

Agree the connections at the new lintel
With a large door, the supports for sections of the wall may have a different steel thickness from typical rails. The same panel then requires a different drilling and anchoring range to be checked. It is worth marking such locations on the fastener list so that the team does not use one type out of habit.
Also check tool access to the intended point. The door frame, flashing or adjacent installation may make perpendicular seating difficult. The sequence of work should leave the possibility of correct fixing rather than forcing drilling at an angle. This minor coordination at the design stage protects against improvisation in an area of great importance for airtightness.
Set the contact pressure without deforming the panel
The fastener is installed in accordance with the instructions, maintaining the correct setting and tightening control. Excessive pressure can dent the cladding, deform the seal or damage the lock area. Too loose a seating does not provide the intended performance of the connection.
Do not try to compensate for crooked rails with the force of the screwdriver. The supports should form a correct plane before cladding begins. It is worth inspecting the first fixings closely and comparing them with a reference for correct seating before the same tool setting is used across the whole wall.
Prepare a schedule by type of work
Separate the main panel fixings from the screws for flashings and other small elements. A screw stitching thin sheet metal does not replace a connection to the structure. In the schedule, state the façade zone, the support, the panel variant, the fastener type and the number resulting from the design.
Add a justified organisational allowance separately, but do not treat it as an increase in load capacity. After installation, check the completeness of the system and the locations where incorrect holes may have been made. The method of sealing them should be agreed; leaving an empty hole under a wide flashing does not resolve the matter.
Questions and answers
Will a longer screw always be better?
No. It must have the correct range of fixing, drilling and anchoring. Greater length alone does not improve the load-bearing capacity of the connection if it is limited by the substrate or the cladding.
Can a single number of screws per metre be given?
Only as a result for a specific project. Loads, wall zones, supports, panel type and fastener parameters are required. A general average is not an installation instruction.
7 branches. Materials closer to your project.