Sheet metal flashings
Planning chimney flashings on an irregular roof slope
A chimney located in the middle of a simple roof slope is easier to describe than a chimney near a roof valley, a dormer or a change of pitch. In the second case, several water paths and several groups of flashings meet. Their sequence and the way they connect must be established. The chimney flashings should follow from this arrangement. Reproducing a standard set without checking the surroundings can leave a corner that is difficult to seal. It is worth first drawing the section of roof with the chimney and adjacent edges. Mark the ridge, the roof valley and the directions of water flow. Such a view makes it possible to recognise whether water flows in only from a simple slope or also from an additional zone. The width of the chimney alone does not describe these conditions.
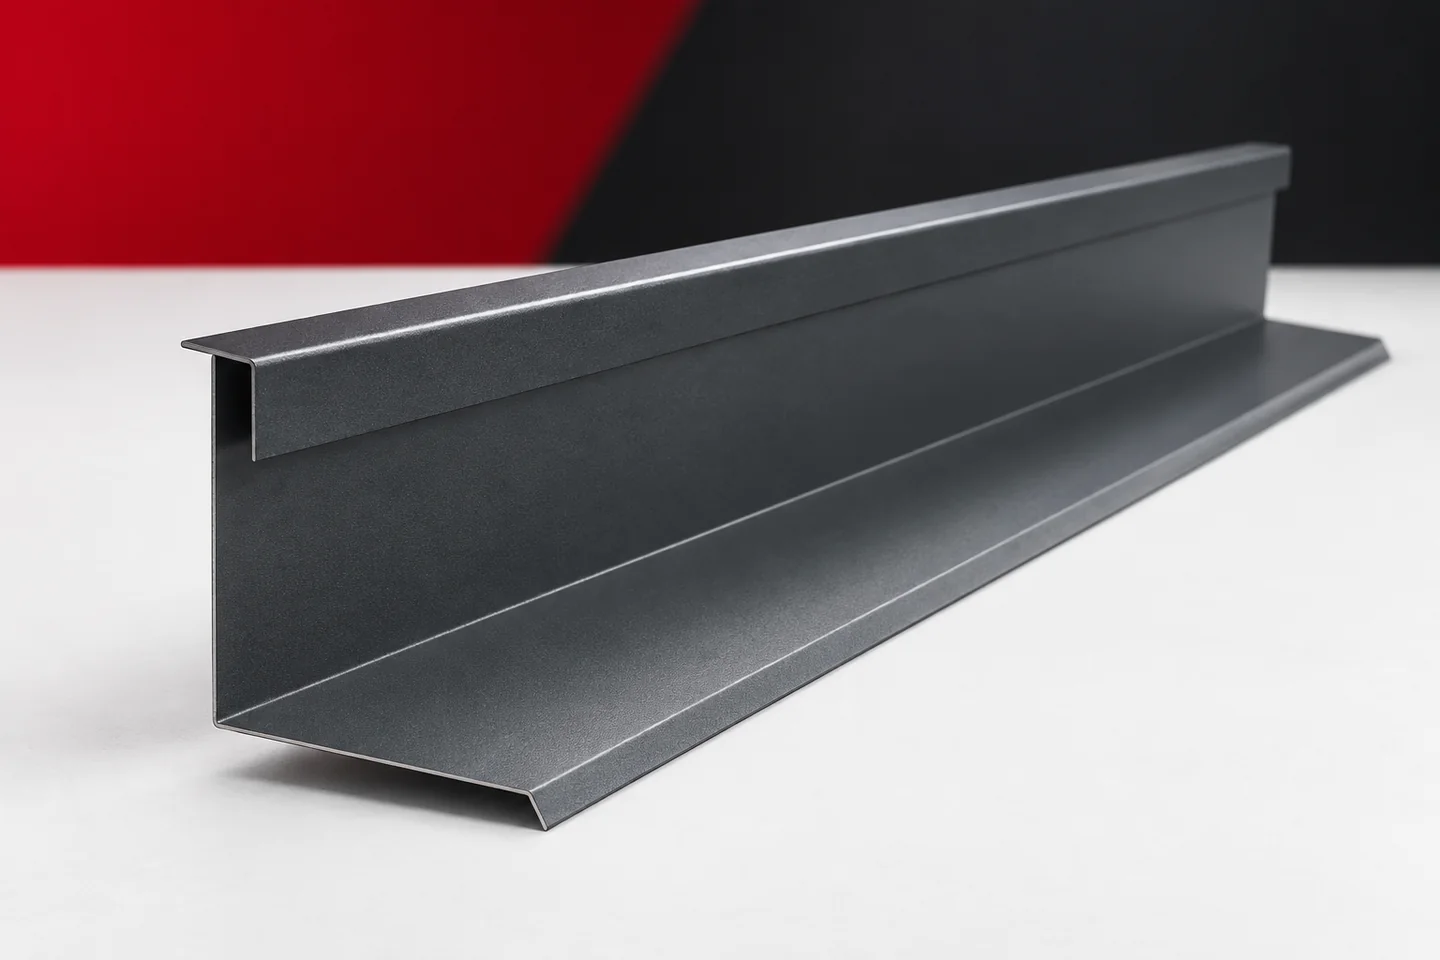
The chimney’s position changes the detail’s surroundings
If the chimney is close to the ridge, the top flashing has little space. At the roof valley, two important drainage details may intersect. Each of these locations requires a separate solution. Chimney flashings should not be created from randomly overlapping standard strips.
Four sides do not make four copies
The lower apron directs water onto the roofing, the side sections guide it along the obstruction, and the top section receives the runoff from the higher roof slope. Their geometry is different. On an irregular roof, the differences may be even greater. It is worth describing each side separately on a drawing.
One should not assume symmetry just because the chimney has a rectangular casing. The roofing may run differently on either side. The profiles and the position of the seams also matter. Correct chimney flashings must account for these obstructions without creating random water-retention points.
Adjacency to a roof valley requires order
The roof valley collects water from two roof slopes and needs an unobstructed drainage path. The chimney or its flashing should not accidentally narrow this area. If the details are close together, their connection must be drawn jointly. Separate correct cross-sections do not yet guarantee a correct junction.
Non-standard flashings can help to execute such a transition. However, they require agreed dimensions and a defined installation sequence. Narrow strips added only on site do not always ensure proper continuity. It is also worth checking access to the connections before closing the adjacent parts.
Behind the chimney, water must be led further
The upper part of the flashing can create a place where dirt accumulates. Its shape should allow for the designed drainage. With a wide chimney or a difficult roof layout, an individual solution may be needed. A flat shelf of greater width should not be treated as a universal answer.
In the design, provision should be made for later inspection of this zone. Access for removing leaves and inspecting the joints is important for maintenance. A detail that looks good only immediately after installation can be troublesome in service. Aesthetics should not conceal an ill-considered water path.

Connection to the chimney and roof layers
Visible sheet metal does not replace the correct termination of the underlay. The junction of the upper edge of the flashing with the chimney wall must also be resolved. The method of covering and sealing depends on its construction. Not every substrate allows an identical fixing detail to be used.
The roof penetration and the required distances of the chimney from adjacent building elements must be executed in accordance with the design and the system documentation. The chimney flashings should also accommodate any movement of the covering. Rigidly joining all parts together is not a general rule of execution.
Material and visibility on the roof slope
Colour-coated sheet metals can help integrate the flashing into the roof plane. With a distinct chimney volume, its outline can also be deliberately emphasised. In both variants, it is worth comparing colour and texture samples. The surface gloss affects the visibility of wide aprons and bends.
Galvanised and aluzinc sheet metals give a different character of finish. However, the material must be selected to suit the conditions and adjacent parts. The visible side of the coating must be indicated on the drawing. With numerous bends, it is worth checking which sheet metal fragments will remain exposed after installation.
A complete detail instead of a collection of strips
Before production, it is worth tracing the assembly sequence of the entire junction. It should be possible without forcing the last part into too small an opening. A trial fit or model helps assess the geometry. Every change should be entered on the drawing so that subsequent elements correspond to the same solution.
Verge flashings, gutter aprons and starter profiles have different tasks but may belong to a common building finishing set. Ridge caps must be taken into account when the chimney is close to the ridge. Consistency is determined by both the material and the way each junction is terminated. A well-planned junction remains technically and visually clear.
Questions and answers
Can a chimney at a roof valley be flashed with a standard set?
This may be possible once the geometry has been checked, but it should not be assumed in advance. The roof valley drainage path and the chimney flashing connections must be resolved together.
Is a wide apron behind the chimney always sufficient?
No. The pitch, drainage direction, connections and the water inflow area are what matter. Increasing the sheet metal area alone does not define a correct solution.
7 branches. Materials closer to your project.