Installation and details
Laying modular tile-effect roofing from the eaves to the cuts at a roof valley
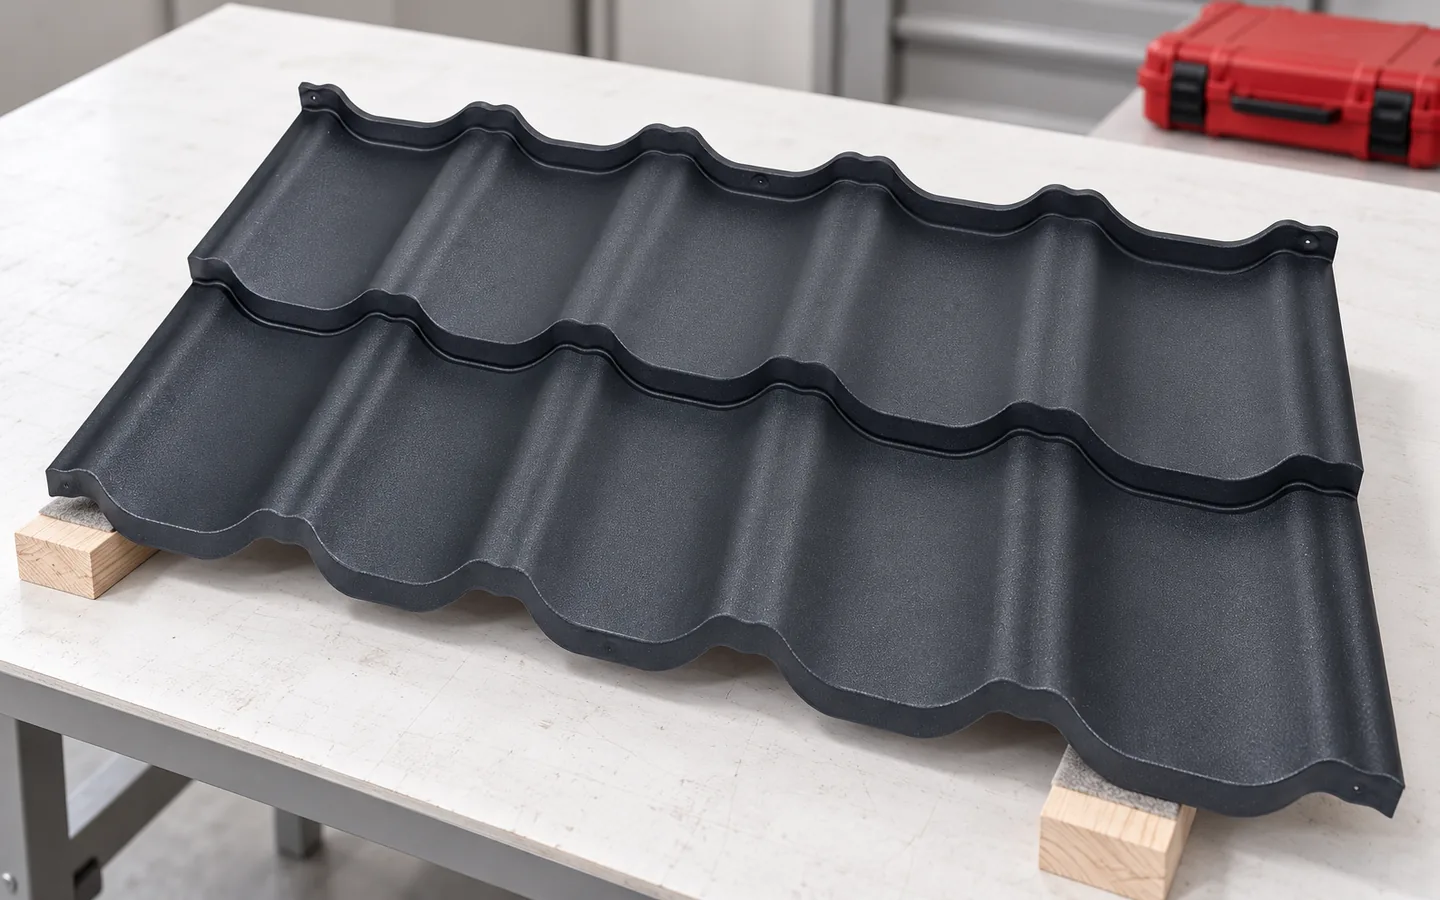
Before ordering the battens, establish the exact model and variant of the modular metal roof tile, as this determines the batten spacing and fixing method. Check the instructions for the permitted pitch, sheet geometry, laying sequence and connection rules. A similar appearance of two modules does not guarantee identical installation, especially at ends and corners. The documentation should be on site before the support is built. Choose the specific roofing variant and only then plan the work, to avoid corrections and uncertainty at every joint.
What to check in the instructions before starting?
Identify the exact model and variant of the covering. Check the permissible pitch, sheet geometry, laying sequence and fixing rules. A similar appearance of two modules does not prove identical installation. Differences may concern end treatments, folds and the way corners are joined. The documentation should be available on site before the substructure is installed.
Compare the delivery with the order and inspect the coating. Determine the storage location and safe handling of the elements. Modules are more convenient than long sheets, but they can still have sharp edges and require careful handling. They must not be dragged over one another. Installation at height requires appropriate protection regardless of the small size of an individual element.
How to prepare the battens, eaves and ventilation?
The batten spacing must correspond to the position of the profiles of the given model. The first spacing at the eaves may differ from the repeating spacing further up the roof slope. This results from the geometry of the end and the positioning of the gutter. A dimension from a previous project should not be adopted without verification. Uneven support can make it difficult to close the joints and disturb the line of the rows.
The underlay should drain water to the correct location. Counter-battens and other components of the system must provide the designed ventilation path. The inlet at the eaves must not be accidentally closed. Before laying the covering, the diagonals and straightness must be checked. Correcting a curved structure by stressing the modules does not produce a lasting effect.
Why do the first modules set the entire roof slope?
The first elements must be aligned with the roof geometry and the eaves line. It is not enough to align them to an arbitrary side of the wall. It is worth checking the position of several modules before fully fixing them. A small error repeated in successive rows can become visible over a large area. Checking the width and straight lines should accompany the entire installation.
The laying direction results from the construction of the product. Some solutions permit certain sequence variants, others have a strictly specified way of working. The overlaps must not be swapped or the edges forced in. If the connection does not assemble correctly, the cause must be determined. It may be incorrect support, sequence or a damaged element.

How to make connections and choose screws?
The screws connecting the modules and fixing them to the battens may have different tasks. Elements with the length and properties intended for the given location are used. The fixing plan also covers edge and corner zones. It should not be determined only from the general number of pieces per square metre. Wind load and roof construction are relevant to the design.
The fastener should be seated correctly and the seal compressed without excessive crushing. Over-tightening can distort the sheet, while under-tightening can leave a leak. No random holes are added to correct a badly assembled corner. Such a place must be properly dismantled and reassembled. A level surface is the result of consistent support and connections.
How should modules be cut at roof valleys and penetrations?
The cutting plan should be arranged so as to preserve correct edges and water drainage. At the roof valley, the correct flashing, the position of the cut and the fastening outside the prohibited run-off zone are needed. The width of the detail depends on the geometry and the design. One dimension should not be transferred to all roofs. The section of sheet must have stable support after cutting.
Tools approved for coated steel sheet are used for cutting. Swarf is removed immediately, and coating damage is assessed in accordance with the instructions. At windows, the chimney and vents, system flashings or correctly designed flashings are installed. Sealant does not replace their shape. Every penetration should have a planned drainage path and continuity of the layers beneath the covering.
What does completion of works and handover include?
Check the line of the rows, the closing of the connections and the completeness of the screws. Inspect the eaves, ridge, roof valleys and side flashings. Ridge elements should protect against precipitation and work together with ventilation. No chips, foil remnants or small waste may remain on the roof slope. Gutters must be cleaned after all works, including those on accessories.
Keep the instructions, labels and photos of the details before they are covered. Establish how later access to the roof and inspections will be handled. After the first heavy rainfall, it is worth inspecting the accessible interior. Correctly laid tile-effect metal roofing forms a coherent system. The result is determined by the repeatable accuracy of every connection, not by the mere rapid covering of a large area.
7 branches. Materials closer to your project.