Insulation and ventilation
How to plan and install roof insulation
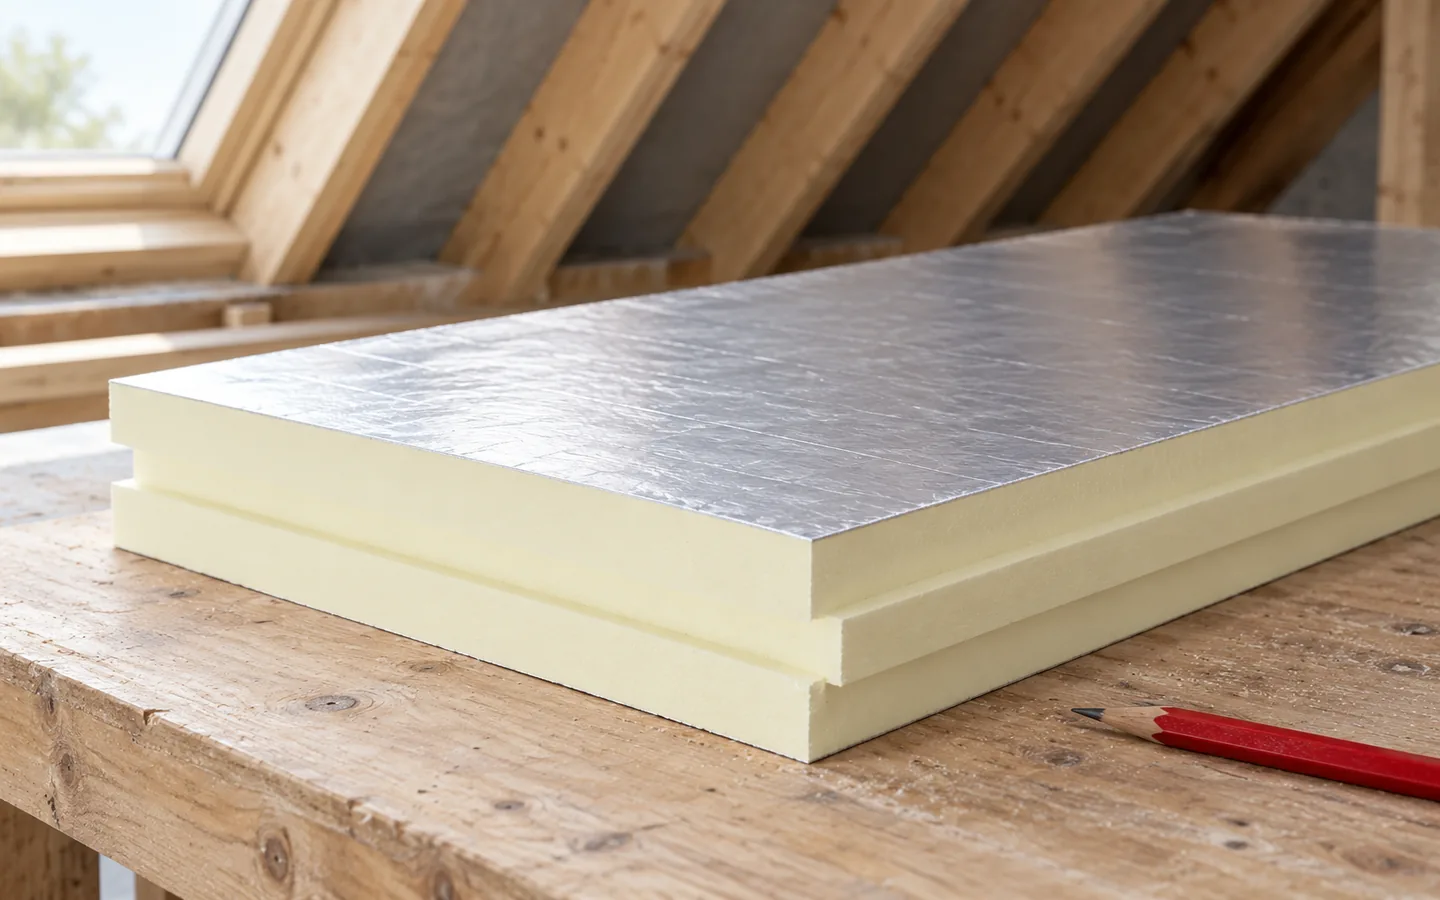
Begin roof insulation by settling the layer arrangement and checking the structure’s condition. Only then choose the material, its thickness and how it will be fixed. PIR boards give high thermal resistance in a slim build-up, but need airtight joints and proper protection. Thermal bridges, the vapour layer and ventilation also count — centimetres alone do not determine the roof’s quality. Insulation may sit between the rafters, below them or over the structure; this depends on whether the roof is new or you are renovating a finished loft. An above-rafter layout reduces timber-related bridges, yet the eaves height, flashings and covering fixings must be planned.
Where should the insulation be located?
A roof can be insulated in various configurations, e.g. between the rafters, beneath them or above the structure. The choice depends on whether a new roof is being built or an existing loft is being renovated. Insulation above the rafters can reduce thermal bridges associated with the timber. However, it requires planning the height of the eaves, flashings and fixing of the covering.
In a flat roof the layer build-up is different. A suitable substrate, vapour control, insulation and waterproofing are required. A detail from a pitched roof surface should not be transferred without checking the conditions. It also matters whether the roof will be accessible and whether equipment will be installed on it.
Before the works, the causes of moisture are removed. It is not advisable to close a wet roof structure or a leaky substrate with new insulation. Insulation changes the temperatures within the building component and can reveal weak points. Therefore the condition of the existing layers must be assessed before choosing the material.
How to choose the material and its thickness?
The starting point is the required parameter for the entire building component. For the layer alone, the thermal resistance is calculated by dividing the thickness in metres by the lambda value. For example, 120 mm of PIR at a lambda of 0.022 W/(m·K) gives approximately 5.45 m²K/W. This is the result for the material layer, not the finished heat transfer coefficient of the roof.
PIR allows the thickness to be reduced compared with a material with a higher lambda. This is useful with a low parapet or limited space in the loft. It does not mean an advantage in every respect. Mineral wool may better meet acoustic and fire requirements. EPS is sometimes favourable in price, and certain grades of XPS are intended for difficult moisture conditions.
Compare specific products and their approved application. The parameter of one PIR board does not describe all boards made of this material. The facing, strength and compatibility with the waterproofing are also important. The thickness is chosen only after taking the entire build-up into account.

How to prepare the substrate and lay the boards?
The substrate should be stable and comply with the system requirements. The boards are laid so as to reduce gaps and unnecessary convergence of joints. With several layers, an offset of the joints in accordance with the design is usually applied. Damaged rebates and large voids should not be hidden under the next layer.
The method of fixing depends on the substrate, the loads and the layers above. Insulation above the rafters works differently from insulation on a structural steel sheet. The screws must transfer the forces to the correct structure. The hardness of the board alone does not mean that it can replace a load-bearing element of the roof.
Pay attention to the coverage area. A tongue-and-groove panel may have a smaller effective dimension than the nominal one. Cutting and details must also be included in the calculation. A properly described order reduces the risk of running short of material to close a small but important section of the roof slope.
How to achieve airtightness and protection against moisture?
Most difficulties arise at penetrations, the wall plate and the junction between the roof and the wall. The insulation must form continuity at these points. The vapour control layer requires sealed joints and connections to adjacent elements. Air leakage can transport moisture to the cooler part of the roof.
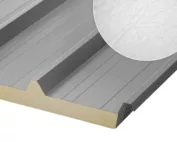
The aluminium facing of the panel does not automatically ensure the tightness of the entire assembly. Tapes, joints and penetrations executed in accordance with the system are important. The outer water-draining layer serves a different function. Vapour control should not be confused with waterproofing, nor should one replace the other without assessing the design.
If the assembly requires ventilation, its path must remain clear. Foam or an accidentally inserted piece of insulation should not block the required gap. The material must also be protected from weather conditions during installation. The low water absorption of PIR is not permission to leave the roof uncovered.
What should be checked before closing the roof?
Inspect the panel joints, the edges at openings and the connection to the wall insulation. Check the fixings and the tightness of the installed service penetrations. At this stage, repair is easier than after the attic lining has been installed. It is worth documenting the places that will later be completely covered.
Separate the thermal assessment from the fire assessment. The reaction-to-fire class of the PIR panel itself is not the fire resistance of the complete roof. An approved assembly may require specific facings and thicknesses. The protective layer must not be removed simply because the insulation is rigid and has good thermal parameters.
The final result depends on the care taken with details and the compatibility of the layers. Extra centimetres of material will not fix gaps or leaky joints. It is therefore worth planning the cost of insulation together with tapes, fixings and flashings. Only a complete assembly allows the capabilities of the chosen material to be used.
7 branches. Materials closer to your project.