Roof details
Replacing verge flashing during refurbishment: what should be checked beneath it?
Replacing verge flashing is an opportunity to assess the whole roof-edge assembly, not just the appearance of the old metal strip. The replacement must fit the actual covering, support and drainage arrangement. Before selecting it, a roofer needs to establish whether damage affects only the finish or also concealed components. This guide organises refurbishment preparation: recording symptoms, defining inspection scope, deciding which materials may remain and checking the detail before it is closed again. It is not a guide to do-it-yourself dismantling at height. Opening the detail, protecting the work area and assessing fixings belong to a suitably prepared team. Covering an old flashing with a new one does not establish that the cause has been removed.
Describe the symptom without guessing its cause
Record where deformation, a rust-coloured mark or staining appears and when it was noticed. Photographs from an accessible, safe position help prepare a visit. A noise in windy weather does not identify a particular fastener, and a stain on the finish does not reliably locate the entry point of water.
Define the scope of a safe inspection
Tell the installer about previous repairs, roof-covering changes and added layers. An old drawing may help with orientation but must be compared with the existing roof. A component shown before an earlier refurbishment may differ from what now lies beneath the flashing.
The team determines how far to open the verge, considering access and weather protection for the building. Inspection from ground level may not reveal support condition or concealed fixings. Separate investigation from work whose scope can only be confirmed after opening the detail in the quotation.
Agree how exposed areas will be documented before being closed. Each photograph should identify a specific part of the gable rather than being an unlabelled close-up. If further damage is found, the installer should present it with the proposed repair scope rather than leave the decision until final acceptance.
Establish what can remain
Whether a bargeboard or other support can remain is not determined by surface appearance alone. Its condition and suitability for the intended fixing need assessment. New screws in a weakened component are not automatically a satisfactory repair. Structural doubts require assessment by someone with the appropriate competence.
Review the outermost roofing sheet and its connections separately with the installer. A deformed edge, previous holes or local corrosion can affect the new detail. Do not assume that a wider verge flashing will resolve every such problem without changes to adjacent components.
Match the replacement to the exposed detail
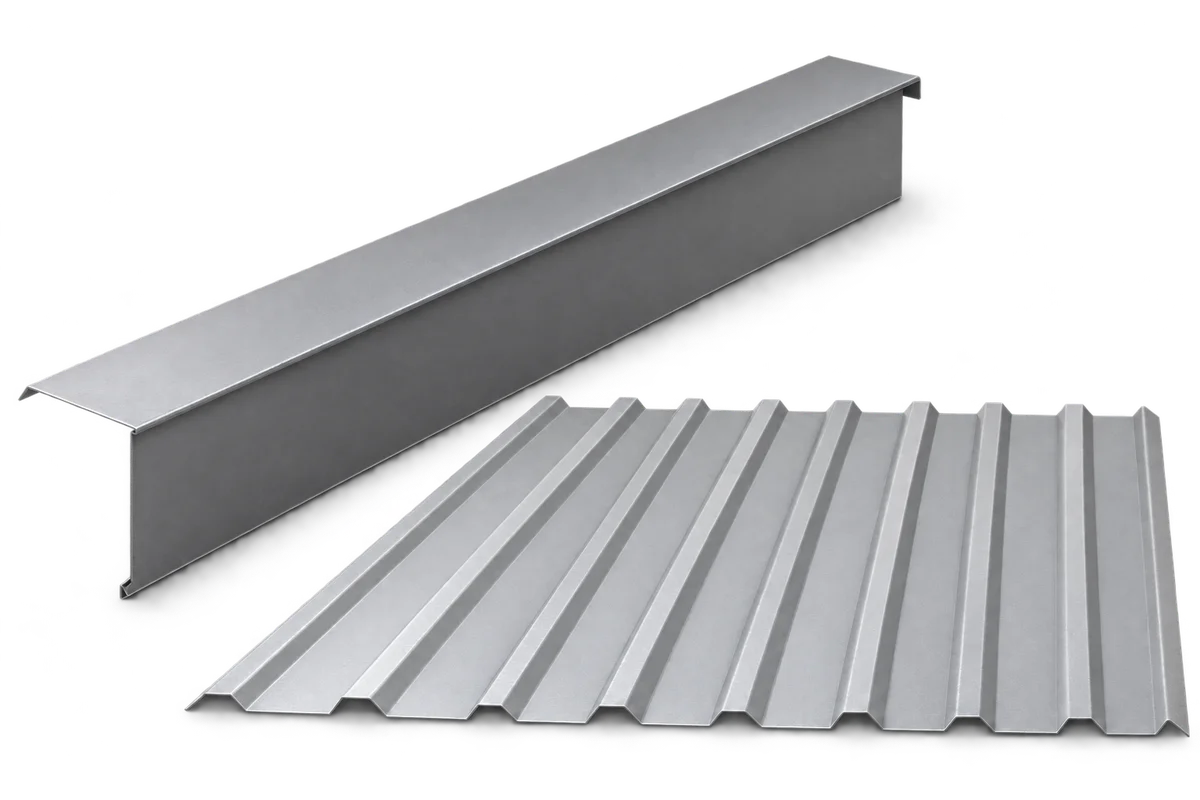
After assessing the support, select the replacement section and fixing arrangement for the specific roofing system. Dimensions taken from an old, deformed flashing are not a reliable template. Where the covering has also been replaced, a different profile height may require a different edge shape.
The new flashing material and components in contact with it should meet the system requirements. Agree the coating, fasteners and any seals. Do not select them solely by colour or a “universal” label. Combining old and new materials requires checking the actual contact conditions.
Check connections before concealment
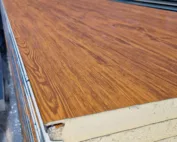
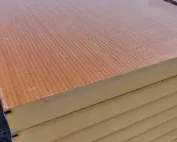
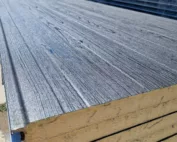
Before closing the edge, check the layers beneath the covering and how water is led out. A designed ventilation gap must not be unintentionally closed during repair. Inspection scope depends on the roof assembly; a batten-supported sheet detail cannot be transferred unchecked to a sandwich-panel roof.
Review the eaves and ridge connections as parts of one assembly rather than two unrelated ends. The new verge flashing needs to work with retained flashings. Record which were replaced and which remained after assessment so the repair scope is unambiguous.
Keep a record of the repair
At acceptance, ask the installer to identify the work completed and show photographs of concealed areas. View the accessible finish from a safe position: edge alignment, terminations and coating condition. A neat appearance does not replace information about supports and fixings no longer visible after completion.
Keep the repair description, date, material identification and the installer’s inspection recommendations. If the earlier symptom returns, comparison with the record will help further investigation. Do not tighten or seal arbitrary points yourself; report a new irregularity for assessment.
7 branches. Materials closer to your project.