Installation and details
Roof flashings: what they do and where they are needed
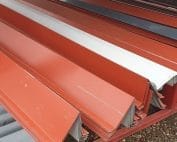
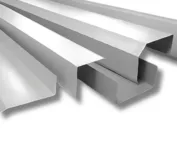
Roof flashings safeguard the edges and junctions of the covering, channelling water away so it cannot get beneath the roof. They include eaves strips, bargeboards, valleys and components around the chimney, matched to the slope and sheet metal. Though sometimes decorative, their shape, laps and fixing determine tightness. The sheet alone is insufficient at terminations, openings and bends – flashing sets a controlled drainage path, even in wind-driven rain.
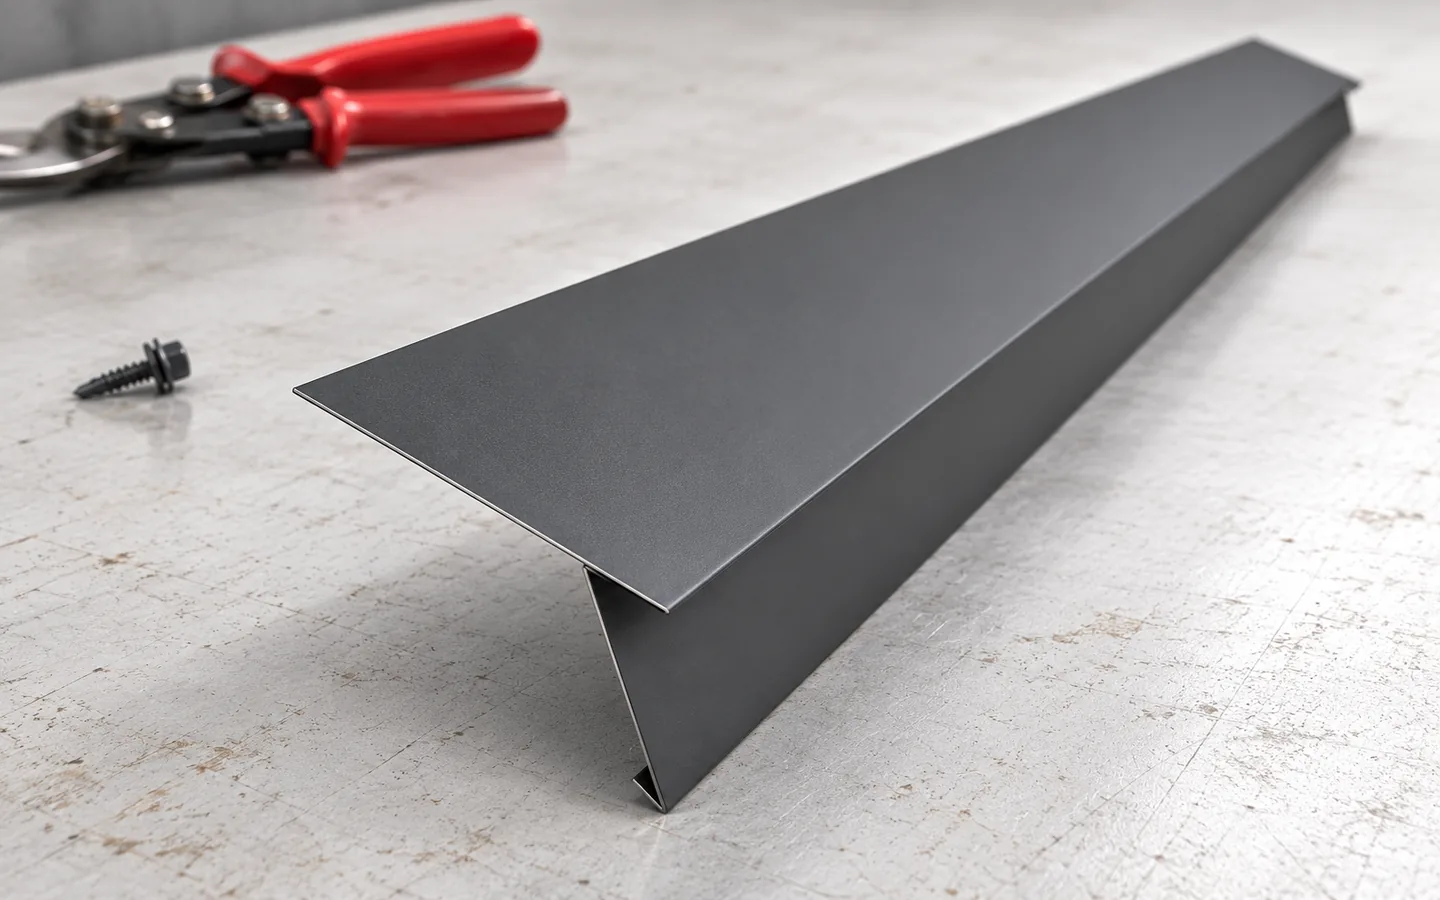
What happens to water at the roof edge?
The covering drains water well across its surface, but the roof also has terminations, openings and changes of direction. In these places the sheet alone is not enough. The flashing creates a controlled drainage path. It should also work during wind-driven rain, when water does not move only vertically downwards.
That is why the whole layer assembly is assessed. Water from the covering and moisture from the underlay can reach the eaves by different routes. One of these routes must not be closed off by an accidental bend in the sheet. An incorrect detail is often invisible from ground level and only shows up as a streak on the façade or damp in the timber.
A good starting point is a cross-section of the detail. It should show the drainage direction, the laps and the fixing points. A photograph of a neat edge alone does not provide this information. The solutions should be agreed before ordering the sheets and constructing the substructure.
What flashings occur at the eaves and gable?
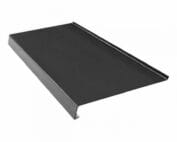
The gutter apron helps direct water into the gutter. Its setting must be coordinated with the projection of the covering and the position of the drainage. The gutter underlay protects the relevant part of the eaves, depending on the chosen solution. Both elements serve different functions. They should not be treated as interchangeable simply because they have a similar width.
The verge flashing protects the side edge of the roof slope. Its shape depends on the sheet profile, the gable construction and the intended fixing. Too small a lap can let water in. Too wide a flexible section can be prone to vibration. Thermal movement and the method of joining successive sections must also be taken into account.
At the eaves, the intended ventilation inlet is left open. Not every opening should be sealed without checking its function. An insect guard can maintain airflow if it has been correctly selected. A solid sheet inserted instead of such an element will change the behaviour of the roof.

How do the roof valley and ridge flashing differ?
The roof valley collects water from two roof slopes. The flow there is often considerably greater than on a straight section of roof. A clear drainage zone, proper support and a fixing method that does not create accidental leaks are needed. Cut sheets should end at positions consistent with the system detail.
The ridge closes the upper junction of the roof slopes. In many roofs it also participates in venting air from beneath the covering. Ridge tiles, tapes or other elements must be matched to the profile and the required ventilation. It is not enough to cover the gap with any strip of sheet. Too tight a closure can hinder the drying of the layers.
On a hipped roof, the hips and their junction with the ridge are added. It is worth preparing these locations on the drawing before installation. A set of accidentally cut components often looks poor and makes it difficult to check drainage. The order of overlapping and the compatibility of all parts matter.
How are the chimney, wall and penetrations protected?
At a chimney or a higher wall, components that may move differently must be joined. The flashing should allow such movement and protect the junction from water. The upper termination requires a solution compatible with the wall material. Adhering the edge to dirty plaster does not produce a durable detail.
Around windows and service penetrations, solutions are used that are intended for the type of covering and its height. A collar for a flat surface does not have to fit correctly onto a high trapezoidal profile. The shape of the component should not be forced by excessive tightening. The sealant performs its intended auxiliary function but does not replace the correct geometry.
Water flowing down from a higher part of the roof slope must be able to bypass the obstacle. Behind a wide chimney, an additional solution directing the flow may be needed. Such a location is designed individually. A larger amount of sealant alone will not improve a layout in which water constantly stands.
How to order flashings and inspect the workmanship?
In the schedule, state the type of flashing, the developed width, the length, the number of pieces and the colour. Attach cross-sections and material requirements. Dimensions visible after installation are not the same as the width of sheet needed for bending. Allowances must also be made for overlaps and for division into sections that can be transported.
During acceptance, check the evenness of the lines, stability and the absence of unnecessary holes in the drainage zones. Assess the compatibility of the fasteners and the condition of the coating at the cuts. Swarf is removed from the surface. It is worth photographing the details before they are partially covered so that it is later clear how the joints were made.
Saving on flashings by omitting components usually spoils the entire roof. Sensible optimisation consists of good cutting layout and repeatable, correct details. In a complete cost estimate, the flashings should appear straight away. Only with them can the price of two covering variants be compared.
7 branches. Materials closer to your project.