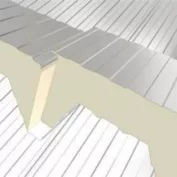
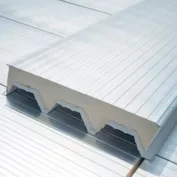
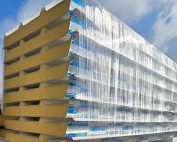
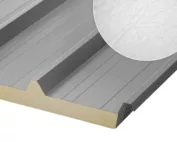
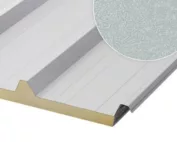
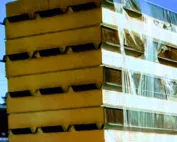
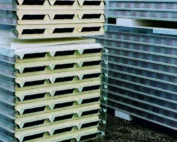
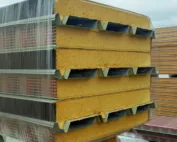
Structure and installation
How to plan and install a sandwich panel roof?
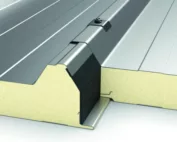
Roof installation begins with a proven structure and detailed drawings before the first panel is above the hall. The laying sequence must match the panel profile, the direction of water runoff and the lifting arrangements. Most problems can be eliminated at the eaves, ridge, openings and transverse joints. The lightweight envelope design should show panel lengths, supports, slope, installation direction and all openings. Mark skylights and equipment before the material schedule is produced. A large penetration may require its own sub-structure, and its flashings must direct water in accordance with the roof slope layout.
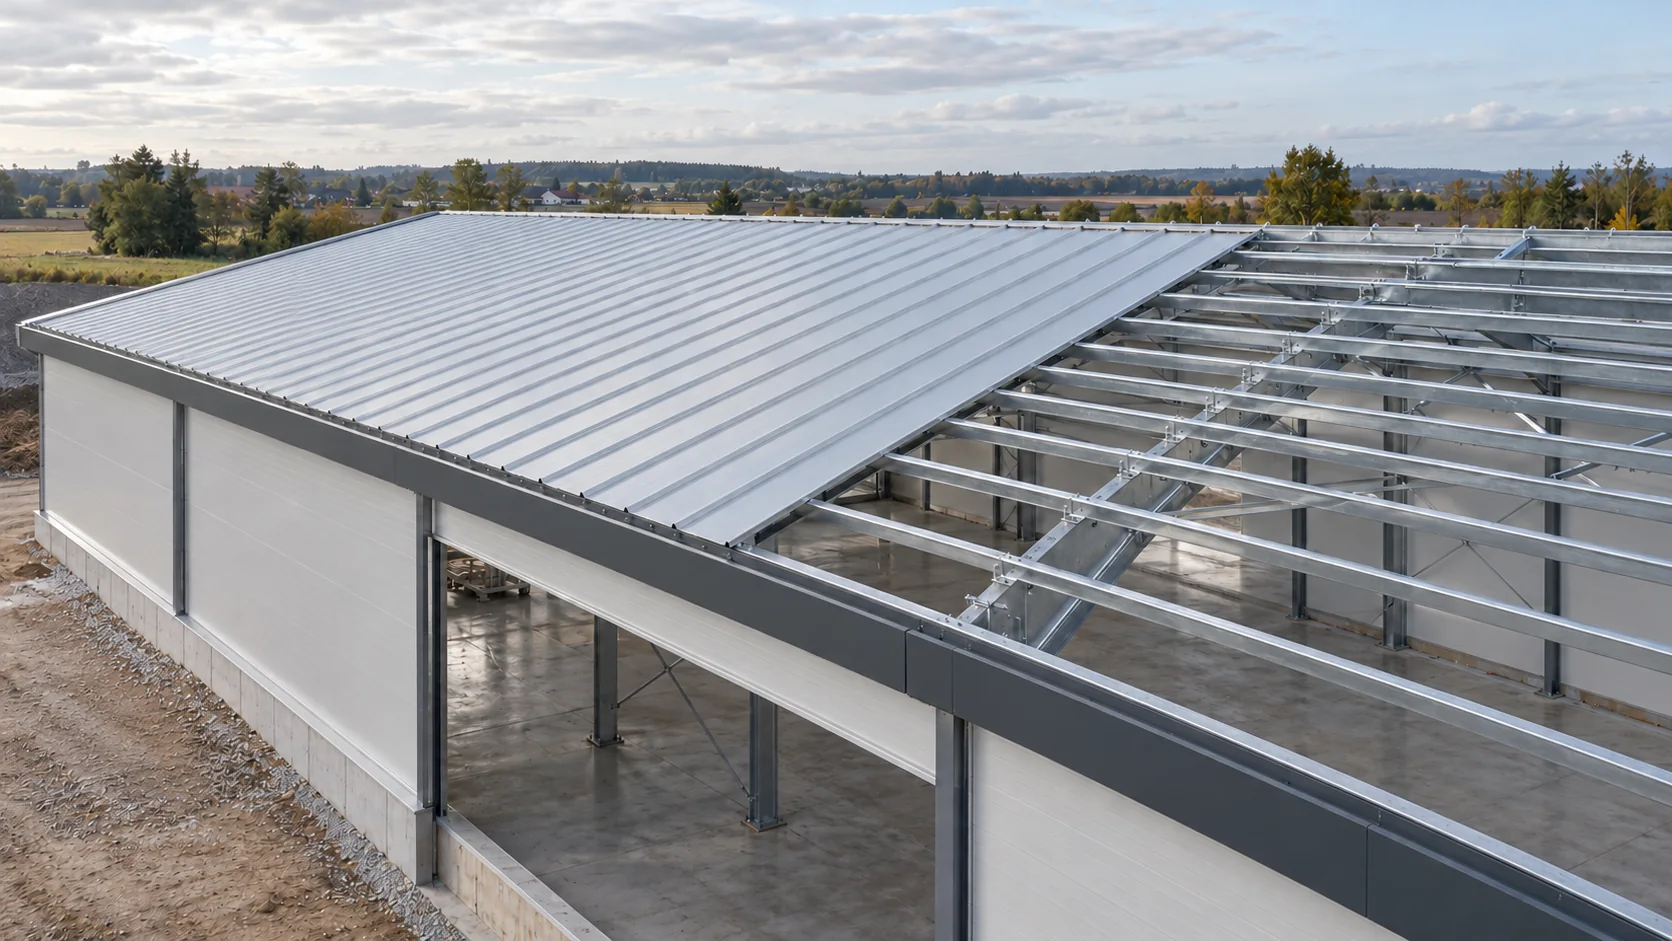
Agree the plan for the entire roof slope
Distinguish between a roof with continuous panels and a roof with longitudinal joints. The documentation for a specific system may set different requirements for slope and sealing. Do not use a single minimum value for every panel, rooflight arrangement and lap detail.
When determining the sequence, leave access to fixings at future openings and flashings. Temporary protection must not trap water in an open core. If work is interrupted, the site organisation plan should indicate how to protect the unclosed roof area.
Check the structure before the equipment arrives
Check the axes, levels and plane of the purlins. Confirm the bearing widths and spacings in accordance with the calculations for the selected panel. A curved support may make it difficult to close the joint, and pulling the panel in with a screw is not a correct method of repairing the structure. Eliminate discrepancies before starting the cladding.
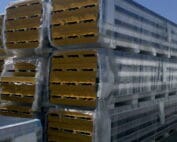
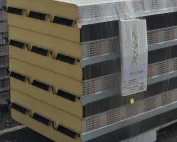
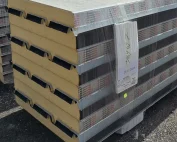
Also check the preparation of the bracing and access to fixing points. Include fall protection and safe working positions in the work plan. The distribution of packs on the roof, if permitted, requires verification of loads; do not place them arbitrarily on finished panels.
Organise the lifting and the first panel
Select the device according to the length, weight, core and profiling of the panel. The instructions specify the permitted method of gripping and lifting. Coordinate delivery with the sequence of fields to limit turning and moving of elements. Carry out work only in weather conditions consistent with the system and equipment rules.
The first panel determines the direction of the rest of the roof area. Before permanent fixing, check its position at the eaves and its perpendicularity to the support line. Determine the lap side and the cut-outs. A mistake at the beginning can accumulate over subsequent modules and make it difficult to complete the final roof edge.

Fasteners and seals work together
The type of screw must match the substrate, the penetration length and the required corrosion resistance. The number and arrangement of fixings are determined by the design, including in zones of stronger wind suction. Separate the fixing to the purlin from the stitching of the longitudinal joint; these are different structural and sealing tasks.
Install seals, tapes and sealants at the locations intended for the given joint. Do not add a random layer that prevents the lock from closing. When tightening, maintain the correct pressure of the washer without crushing the cladding. Remove swarf promptly before it damages the coating or leaves corrosion marks.
Close the eaves, ridge and penetrations
The eaves should drain water to the designed drainage system, not into the interior of the joint or behind the façade. Check the relative position of the panel, flashing and gutter. At the ridge, combine rain protection with continuity of insulation and airtightness from the inside. A wide metal cover alone does not perform all these functions.
Make openings after establishing the support and detail. Do not rest the device on an arbitrary section of cladding. Use cutting methods approved for the panels that limit overheating and damage to coatings. Protect every exposed edge in accordance with the product requirements.
Check the roof before leaving the site
Check the closing of joints, the condition of washers, the completeness of flashings and the patency of drainage. Do not leave the protective film longer than the manufacturer permits; also remove it from places that will later become inaccessible. Carry out inspections from safe access, according to the rules for loading the finished roof.
Record the penetration solutions and any deviations before they disappear under flashings. Determine how future installations, such as photovoltaic panels, will be fixed. A roof selected for the current design does not automatically gain reserve capacity for additional equipment. Their loads and fixing points must be checked separately.
Questions and answers
Can you walk on every PIR sandwich panel roof?
No. The method of movement, installation loads and any walkways are specified in the documentation for the specific system and the work plan. The name of the core alone does not determine this.
Will an additional sealant fix an insufficient slope?
This should not be assumed. The pitch and the joint configuration are conditions for use of the system. Any change requires a design solution, not random sealing.
7 branches. Materials closer to your project.