PIR insulation
Choosing PIR insulation for a new hollow clay block wall
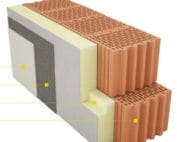
The insulation thickness is not chosen on the basis of the term “ceramic hollow block” alone. The type of masonry, the mortar and the type of façade finish all matter. In a new house, it is worth combining the choice of PIR with the design of the windows, ring beams and plinth. The favourable calculation result will then also cover the places where different parts of the building meet. Two blocks of the same width can form walls with different thermal resistance. Geometry, material, the arrangement of the voids and the method of bricklaying all count. The parameters selected for the calculations must correspond to the adopted technology. They must not be replaced with the best lambda found for the entire product family.
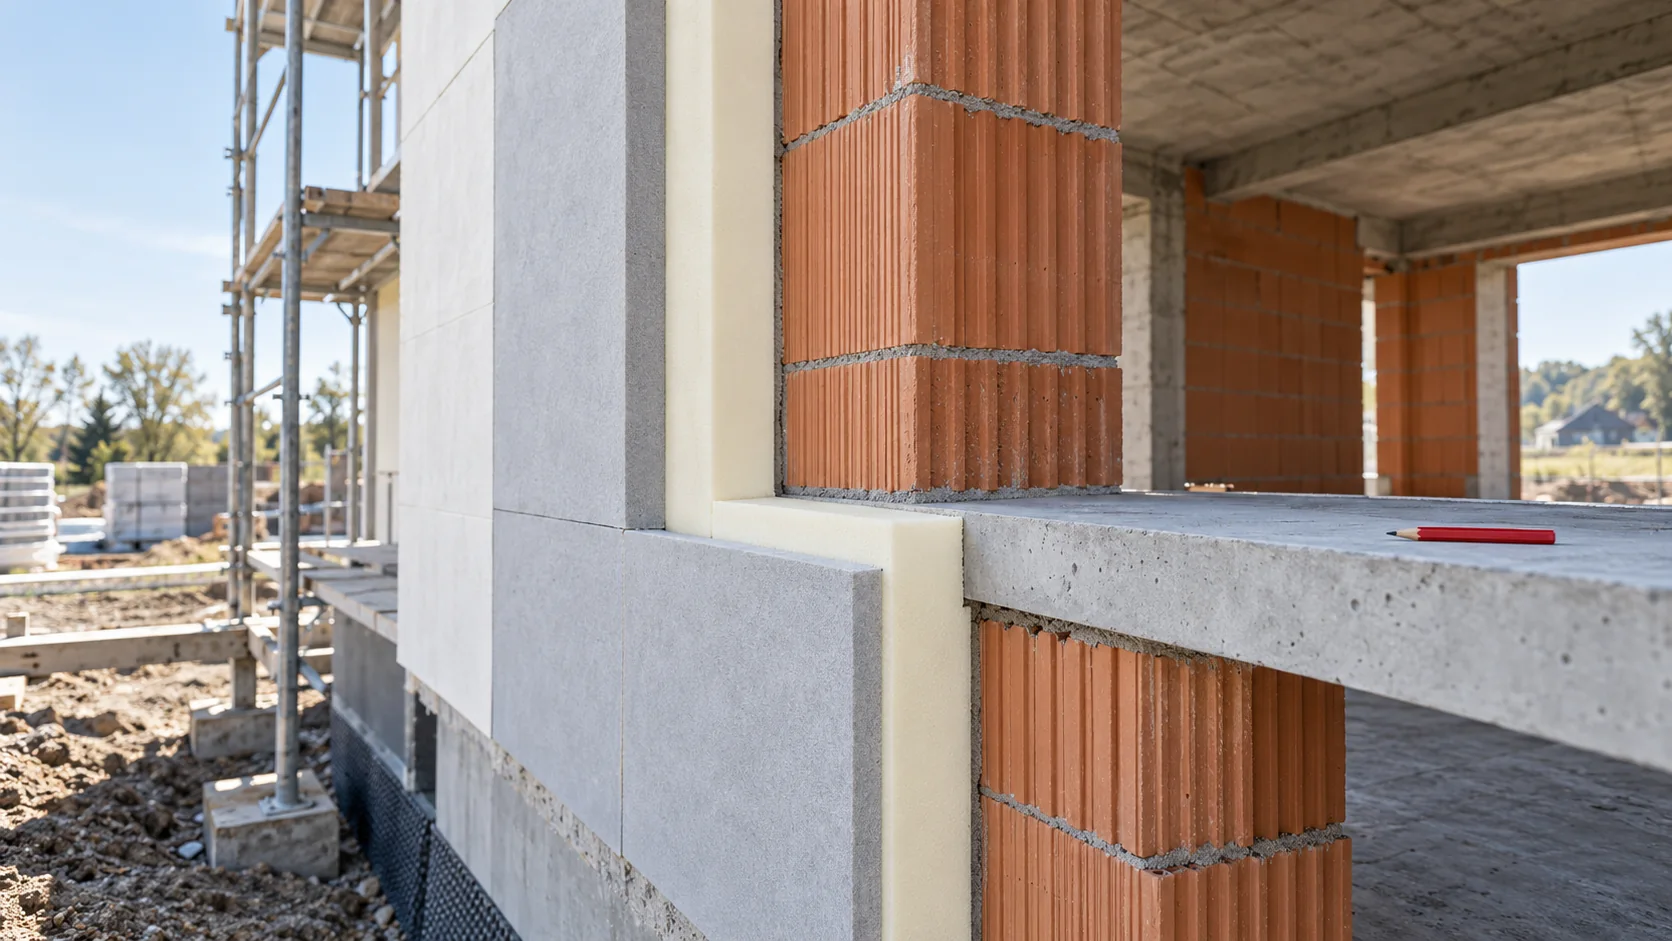
Check the masonry as a finished layer
Record the wall thickness, type of mortar and plasters in the design. Also include the areas with reinforced concrete: ring beams, lintels and columns. These do not automatically have the same properties as the field of ceramic blocks. A clear distinction between these sections allows the method of installing the insulation and the position of the windows to be determined in advance.
Match the PIR facing to the façade
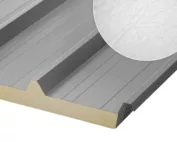
Under thin-layer plaster, the solution intended for the specific insulation system is used. The fleece facing prepared for such work differs from gas-tight aluminium foil. It is not enough that both boards have a PIR core. The compatibility of the adhesive, reinforcing layer, fixings and finish must be checked.
In the example family of boards with fleece, lambda changes with thickness. For 100 mm it is 0.026 W/(m·K), and for 120 mm 0.025 W/(m·K). These are data for this configuration, not a feature of all PIR insulation. In the calculator, each variant must be assigned the correct value or declared thermal resistance.
Compare two variants using a single example
For the preliminary calculation, assume that the wall, plasters and surface resistances together give 1.10 m²K/W. Adding 100 mm of insulation with a lambda of 0.026 gives approximately 3.85 m²K/W. The simplified system therefore comes to approximately 0.20 W/(m²K). For 120 mm at a lambda of 0.025, we obtain approximately 0.17 W/(m²K).
The calculation shows the direction of change, but does not confirm the design of a specific house. It does not take into account all corrections or thermal bridges in the details. If the investment target is 0.18 W/(m²K), the first variant is already too weak at this stage. The second remains a candidate for further verification, not an automatically approved solution.

Move the window decisions to an earlier stage
Additional centimetres of insulation change the depth of the reveals, the position of the window sill and the way the frame connects to the façade. Decide whether the window will be set flush with the wall face or projected on a suitable fixing system. The support of the frame and the transfer of its weight must be designed independently of the foam.
The space for insulating the reveal must be reconciled with the opening of the sashes and the guide rails of the blinds. The lintel and the roller shutter box should appear on a common section. If each trade draws only its own element, there may be no space left for continuous insulation after installation. This problem is not solved by a greater thickness in the middle of the wall.
Maintain continuity at ceiling and plinth level
The outer PIR layer should connect with the insulation of adjacent building components in accordance with the detail. In the plinth zone, splash water, damage and waterproofing requirements come into play. The properties of the façade board do not automatically mean suitability in the ground. The section next to the foundations requires a separate selection.
At the ring beam, the continuity of the thermal layer and the fixing arrangement are what matter. At a balcony or canopy, details for transferring loads through the façade are needed. The fastener spacing is not selected solely according to the insulation thickness. The masonry substrate, the wind zone of the building and the design of the entire system all matter.
Determine when to close the new wall
Fresh masonry and plastering introduce water into the building. The schedule should allow for drying conditions, protection against rain and the substrate requirements before bonding. Fixing boards to wet or unstable surfaces does not become correct thanks to a favourable lambda.
On site, the laying direction of the cladding, the joint pattern and the technology specified for the system must be maintained. It is worth checking the first completed section including the window and ring beam. This allows the façade crew to be coordinated with the window fitter. Only once the details have been agreed is the solution repeated on the remaining walls.
Questions and answers
Will the same PIR thickness be sufficient for the block and the ring beam?
It may be part of a correct solution, but the temperatures and losses at the reinforced concrete must be checked. A result for the masonry is not taken as the result for the ring beam.
Does a better lambda allow any plaster to be used?
No. The finishing layer must belong to the solution approved for the selected board and its cladding. The thermal parameter does not describe adhesion.
7 branches. Materials closer to your project.