Sandwich panels
Sandwich panel layout before purchase: from elevation drawing to panel schedule
A sandwich panel layout connects the building’s geometry with the schedule of pieces to be ordered. It should show more than a wall or roof area: panel divisions, their relationship to supports and openings, and references to construction details also matter. Multiplying length by height does not produce a manufacturing schedule. This guide organises the drawing workflow: establish reference points, identify pieces, distinguish building dimensions from order lengths and record changes. Its focus is information passed between designer, installer and supplier. It does not prescribe universal support spacing or installation clearances. Those values must come from the solution developed for the particular building.
Establish a shared reference system
The drawing and schedule should be traceable in both directions: from a panel on the elevation to its order line, and from every ordered piece to its intended position.
Start by agreeing grid, level and building-side identifiers. State the viewing direction for each elevation as well. Without it, “left corner” and “right edge” can mean opposite positions to people working on different sides of a wall. Use the same reference system on drawings, survey photographs and the issue list.
Show supports and all openings
Check whether the base drawing shows the proposed design or a survey of the existing structure. Where they disagree, retain both values with their sources and refer the discrepancy for resolution. Do not silently change the schedule while leaving an old drawing in use. Further work needs an agreed basis, not a selection of convenient figures from different documents.
Show support positions with their identifiers. Panel length is not the same as the span between supports, and a rectangle drawn on an elevation does not establish adequate support. The element’s structural arrangement belongs to technical design. When preparing the purchase schedule, refer to the approved solution rather than deciding an allowable spacing yourself.
Draw the panel arrangement instead of dividing area alone
Locate openings before finalising the panel schedule. Give each one dimensions, a level and a reference to its detail. Mark whether its position is confirmed or still depends on the selection of a door, gate or other equipment. Do not replace missing information with an unmarked approximation; a later change may affect several adjoining pieces.
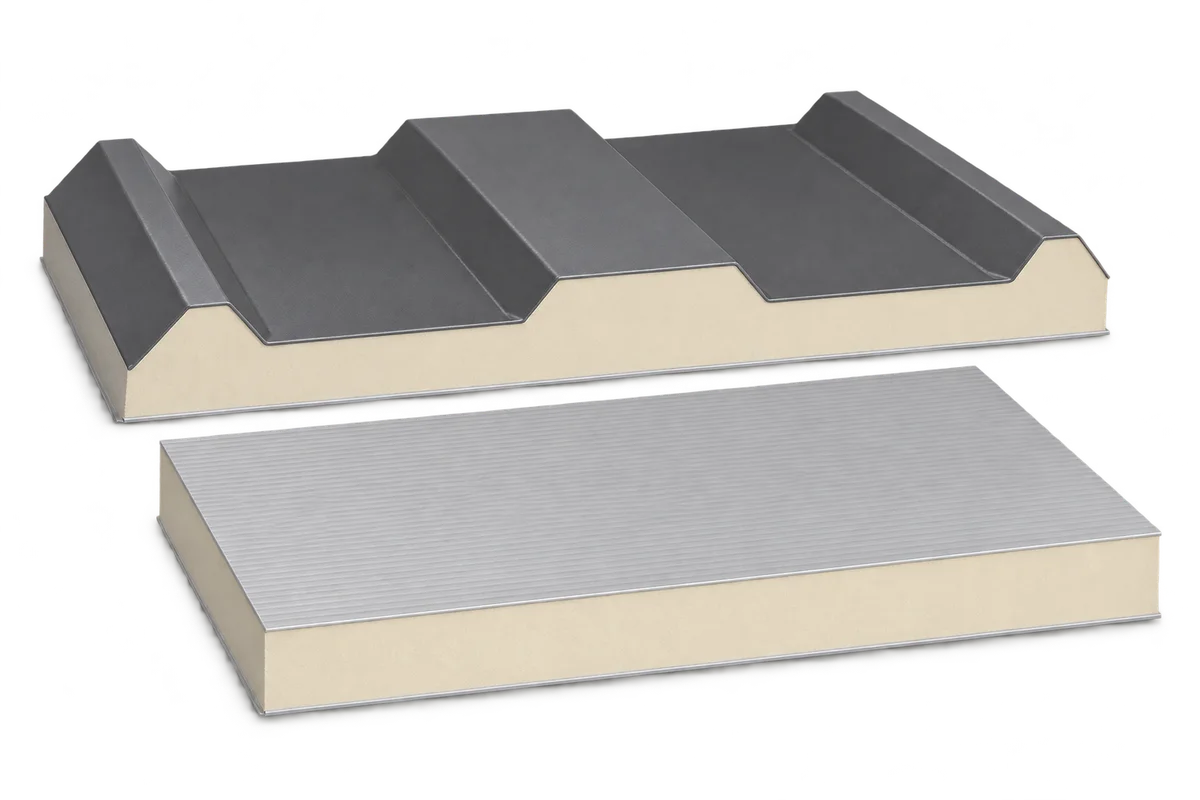
Use the particular panel’s cover width when drawing the arrangement. Its overall width should not automatically be substituted. Check the first and last strip, joint positions and the relationship between panel divisions and openings. Dividing total area by one panel’s area may provide an initial indication, but it does not define every piece’s quantity and shape.
Check panel ends and connections
Relate panel ends to the plinth, eaves, ridge or wall-end details as appropriate. For roof panels, identify the side of any cut-back if the selected arrangement uses one. Do not derive order length solely from the building’s external dimension. The end condition and connection arrangement need to be resolved first.
List cutting, openings and non-standard outlines separately. Agree who prepares their dimensions and where the work is intended to take place. Do not assume every shape on the drawing will arrive ready-made. The quotation and order should distinguish a full panel for subsequent fabrication from a piece prepared in an agreed form.
Link identifiers to the order schedule
Give each ordered element type an unambiguous code. Its row should contain piece count, length, panel type and drawing reference. If two pieces share dimensions but differ in cut-back side or another order characteristic, do not combine them without explanation. Equal length does not establish that their installation positions are interchangeable.
Check the schedule against the drawing elevation by elevation or roof slope by roof slope. Mark the assigned pieces and look for omitted or double-counted identifiers. Total reserve pieces separately. This check does not require elaborate software; it requires consistent identifiers and one agreed document revision.
Resolve changes before approving dimensions
When an opening, support or detail changes, flag all associated items rather than only the amended spot on the drawing. Check lengths, quantities, flashings and delivery preparation sequence for possible changes. Record who approved the revised set. Sending a new sketch without updating the schedule can leave the supplier with conflicting instructions.
Issue the final schedule with the drawing carrying the same revision reference and request confirmation of the version received. Mark archived files so they are not inadvertently used again. Retain the schedule after delivery to check identifiers and allocate materials to installation locations. Its usefulness continues beyond the purchasing stage.
7 branches. Materials closer to your project.