Construction and installation
In what order should the panels be installed so that the walls and roof form a tight envelope?
A tight envelope is created by following the correct sequence of work on the walls, roof and openings. Simply screwing the panels to the steel is only part of the job. The base must be prepared beforehand, the sealing layers joined and access left to areas that will later be covered by flashings. This allows subsequent teams to work without redoing completed sections. On the envelope drawing, mark out the wall sections, the laying direction and the working zones. Indicate which elements must be installed before the panels: base rails, tapes, parts of the flashings and the substructures for openings. Adapt the sequence to the chosen system. There is no single rule that in every building you always start with the same building element.
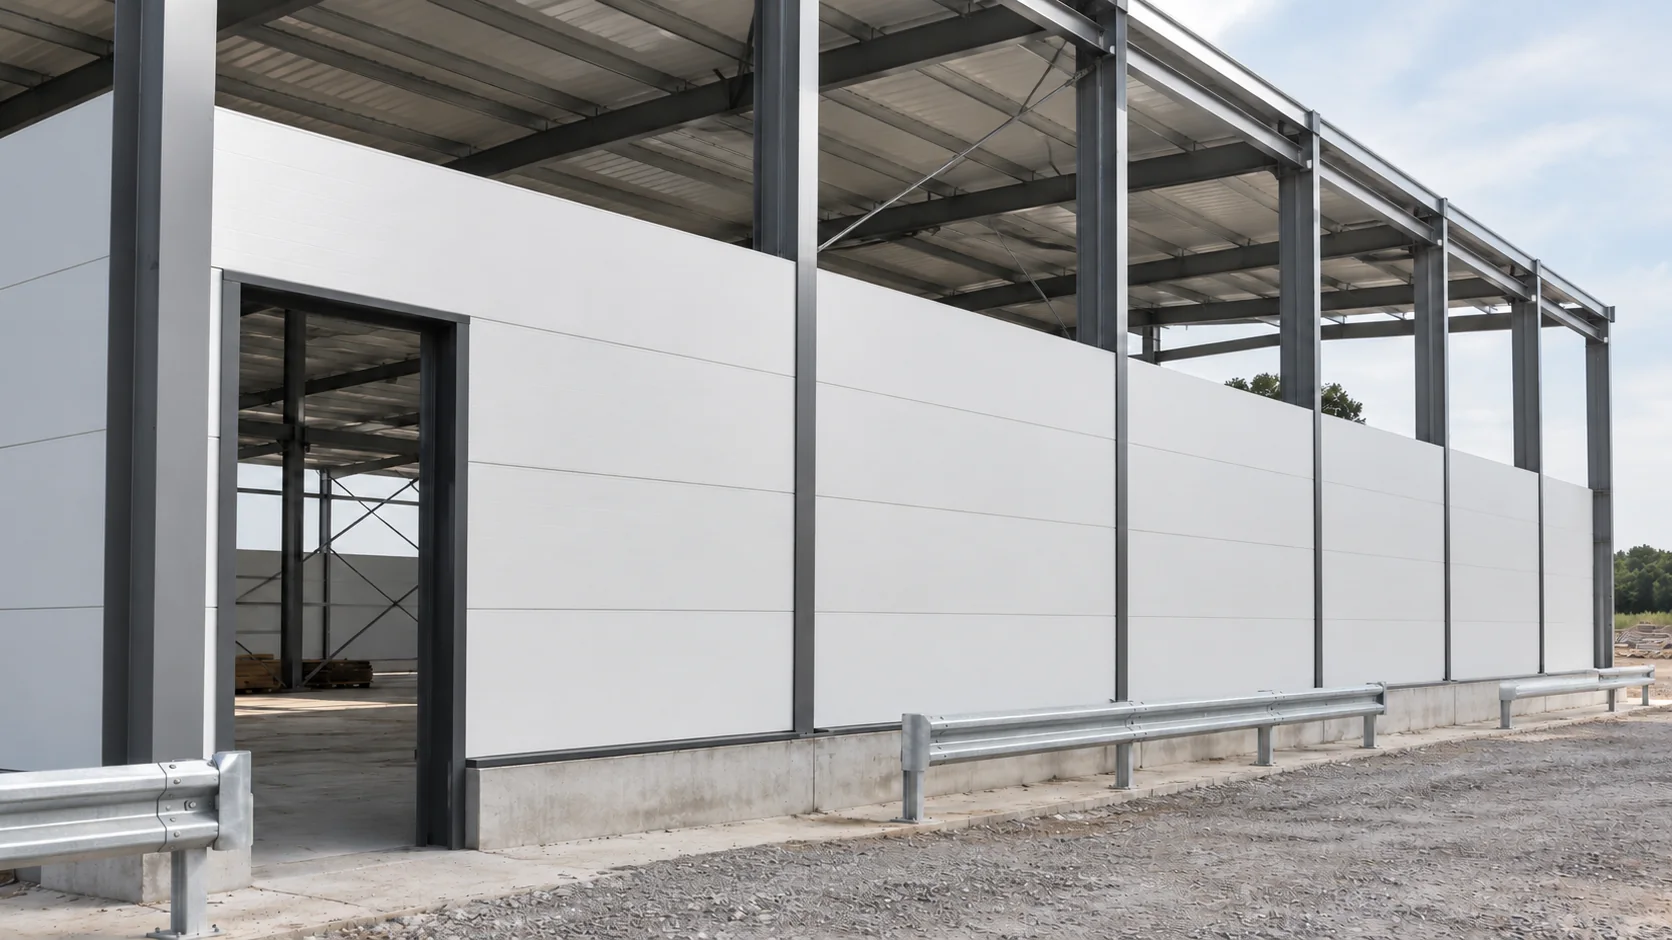
Divide the building into logical stages
Coordinate access for the roofing, façade and joinery teams. If a later flashing requires sliding under the panel, its place must not be closed beforehand with a random batten. It is worth preparing a trial corner or reveal detail so that the contractors understand the sequence of insulation and sealing.
The staging should also account for the curing of wet trades and ventilation of the interior. Closing all walls very early can hinder the drying out of the building. The schedule must therefore combine speed of installation with the conditions in which the seals and coatings will work.
The base defines the geometry and separates water
Check the level of the base rail, the wall axis and the relationship to the finished ground and floor. The detail at the base should protect the panel edge, direct water outwards and provide the required continuity of layers. If the base rail is uneven, correct it before setting the first row. The panel is not intended to mask a foundation error.
For a heated interior, show the connection between the wall insulation and the floor insulation in section. Separate the sealing on the room side from the flashing exposed to rain. A steel strip may visually cover the gap, but it proves neither its airtightness nor the reduction of the thermal bridge.
Check the first module in two directions
Before fixing, check plumb, level and distance from the corner. In a horizontal layout, control the line of successive courses; in a vertical layout, the width of the growing field. An error in the first few modules can leave a section near the gate or corner that is difficult to close. Measure the geometry regularly, not only at the end of the wall.
Check the panel sides and the joint profile. A similar colour of both facings does not mean they can be swapped freely. Use the correct lifting method and protect the edges from deformation. Do not push the panel into place by striking the lock with a tool that may damage the thin steel sheet.

Plan openings as part of the structure
Gates, windows and doors require space for frames, fixings and flashings. Loads from the joinery are transferred by the designed sub-structure. Do not hang heavy elements on the panel cladding alone. In the drawings, also establish how cut edges are to be protected and how airtightness is to be maintained around the opening perimeter.
It is worth positioning service conduits and vents before ordering the panels. When an opening appears later, the support and joint layout must be reassessed. Do not assume that a small cut-out area means a small impact: proximity to a support or lock can matter more than size alone.
Close the joints without blocking the panels’ movement
Select tapes and sealants according to function and the system documentation. The required compression of the joint does not mean arbitrary crushing of the edge. Maintain the specified tolerances and the allowance for thermal movement. Pay particular attention to long elements, dark cladding and the junction between the wall and the roof as it heats up.
Tighten fasteners in a controlled manner with the appropriate tools. Their type, arrangement and number result from the loads and the substrate. After closing each field, remove swarf and check the coatings. Ongoing inspection means you do not have to search for damage under the finished flashing of an entire corner.
What should be checked before the detail is covered?
Inspect the continuity of sealing at the plinth, lintel and under the roof. Document locations that are difficult to assess later. Agree which team is responsible for the airtight closure of service penetrations. Otherwise, the panel installer may consider them the installer’s task, and the installer may consider them part of the finished enclosure.
After completion, check the flashings, drainage and interaction with the gates. Collect documentation of the panels used and a record of changes. This is the basis for future extension, but does not replace acceptance of the structure. A complete building requires the steel, panels, joinery and services to be consistent with the adopted design.
Questions and answers
Can panels correct a distorted hall frame?
They should not. Structural discrepancies must be eliminated before installing the enclosure. Pulling panels to incorrect geometry can impair joint closure and their performance.
Is silicone alone sufficient for every joint?
No. The type and position of the sealing material depend on the system and the function of the joint. A tape, gasket or sealant with specific properties may be required, positioned in the designated location.
7 branches. Materials closer to your project.