Planning the envelope
How to plan a sandwich panel building from specification to installation?
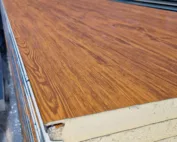
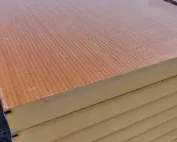
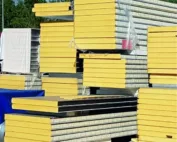
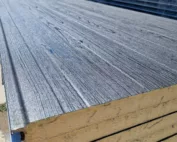
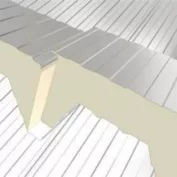
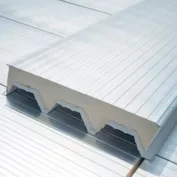
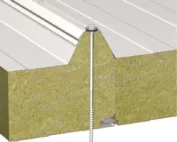
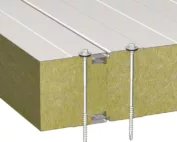
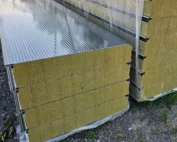
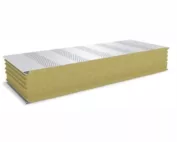
Sandwich panels allow the designed structure to be closed quickly once the geometry and details have been agreed in advance. Understanding how the panel works helps avoid confusing the insulation with the entire envelope. Follow the path from room requirements, through the material description and cost, to the sequence of installing walls, roof and joinery. A typical panel has two thin metal facings bonded to a core. The layers work together to form an element with different properties than each of them separately. Damage to their bond can affect the performance of the panel, even when the coating looks good.
What do the facings do, and what does the core do?
The core may be made of PIR, EPS or mineral wool, among others. The material name helps identify the product group, but it does not determine the full set of parameters. Load-bearing capacity, thermal insulation and classifications must be read for the finished panel with specified facings. Profiling and the joint also affect how it is used.
An insulation board without two steel facings plays a different role. It may be a roof or wall layer, but it requires the other components of the system. Replacing it with a panel or vice versa means changing the entire partition concept, not just the way a similar core is ordered.
How to organise the building requirements?
Prepare a room map and record the temperature, humidity, mode of use and required equipment. A heated working area, a cold store and sanitary facilities may require different solutions. Specify fire, acoustic and hygiene requirements separately. Only then select the type of panels for each boundary between zones.
Lambda describes the heat conduction of the material, R the thermal resistance, and U the transmission through an element or partition. Reaction to fire, EI or REI resistance and roof behaviour under external fire are separate properties. Check each one required in the project.
Relate snow, wind and equipment loads to the location and geometry. The designer checks the panel under a specific support arrangement. The maximum production length means the element can be manufactured, not a free span without purlins or rails.
Which connections need to be drawn in advance?
Show the plinth, corner, wall-to-roof connection and opening perimeters on the sections. Trace the path of rainwater, airflow and insulation continuity separately. One flashing does not always perform all tasks.
Openings must work together with the structure. A gate, ventilation unit or heavy installation needs a designed fixing. Do not treat the thin facing as a universal substrate for suspending equipment. Determine the cable routing and penetration locations so that supports or key joints are not cut later.
Also account for the surface temperature from the sun. The colour and length of the panel can affect its performance and limitations. The choice of coating, however, follows from the surroundings and internal conditions. Dark colour, high corrosion resistance and large insulation thickness describe three different characteristics.

How to go from dimensions to cost?
Prepare a breakdown of the modules, then a list of the panels by length. For example, 24 roof elements with a module of 1 m and a length of 7.4 m give 177.6 m² of purchase. At the contractually assumed €36.80/m² net, the value is €6,535.68. This is a material calculation for the assumed configuration, not the price of a finished roof or a current offer.
Add the appropriate flashings, fixings, seals, lifting and labour. The ordered length may differ from the length visible after installation, because the detail includes the eaves or an overlap. Openings do not always reduce the purchase by their area. The cutting plan should show which pieces you will actually use.
Compare the variants also with the cost of the substructure. A cheaper panel may require a different arrangement of supports, and a more expensive one will not always reduce the amount of steel. The conclusion must follow from a verified configuration. In the budget, separate the envelope from the foundation, frame, joinery and services of the entire building.
How do you prepare for efficient installation of the entire building envelope?
After completing the foundations and frame, check the geometry of the supports. Agree the installation sequence for the panels and the elements that will be beneath them. Provide equipment suited to the product, safe access and a plan for dealing with a weather break. Do not begin closing the bays until solutions for their corners and openings are in place.
During the works, check the first module, the closing of joints, the pressure of washers and the condition of coatings. Cut edges and filings require handling in accordance with the instructions. Photograph the seals before they are covered. Shared documentation helps the joinery and services teams maintain the continuity of the completed layers.
At the end, check the flashings, drainage and sealing of penetrations. Collect the panel data and approved changes. This record will help later to assess the feasibility of making a new opening or adding a device on the roof.
Questions and answers
Does a sandwich panel replace the hall structure?
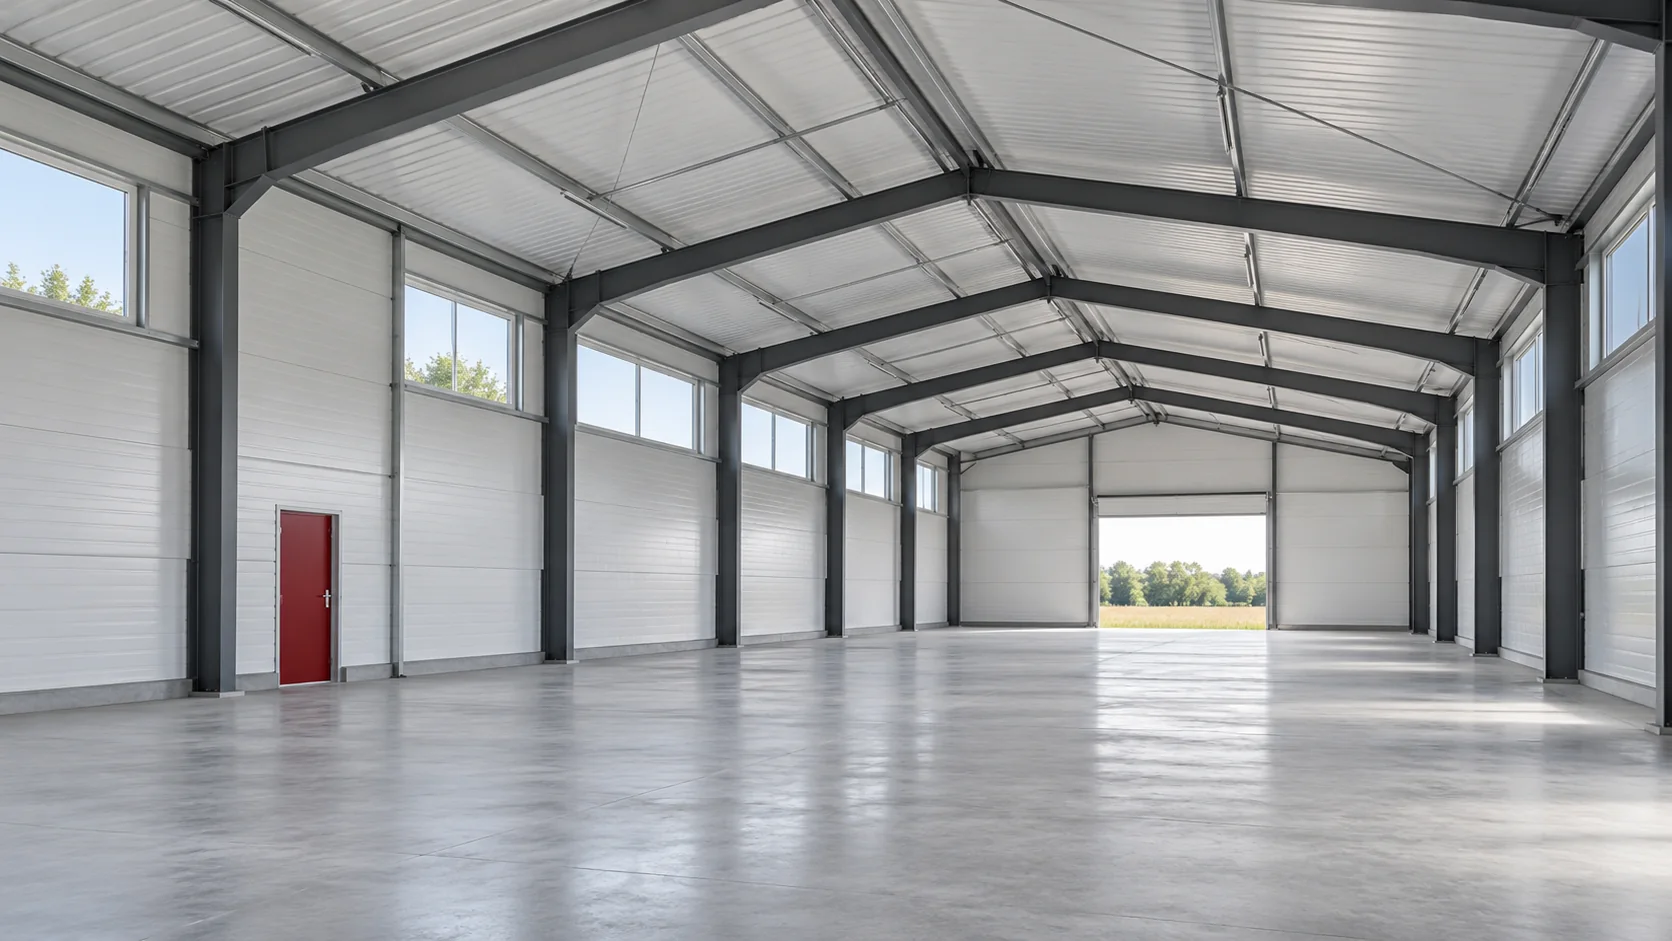
This should not be assumed. A typical lightweight envelope works together with a designed frame. The permitted functions and the way loads are transferred follow from the specific solution.
Is floor area enough for a quote?
No. Wall and roof areas, heights, openings, modules and a list of details are needed. The same floor plan can mean a very different scope of cladding and works.
7 branches. Materials closer to your project.