Gable roof
From the frame to the ridge. How should the layers of a gable roof fit together?
On a section through the gable roof, mark the supports, ridge height and space you need in the loft. These details help the designer lay out the roof frame and allow room for insulation and the layers beneath the chosen covering. Before ordering trusses, compare their drawing with the intended use of the loft. A brace may cut across a passage, and moving it calls for a structural assessment. Trace the route water follows from ridge to gutter, and check where the insulation meets the external wall. This helps the carpenter, roofer and insulation installer agree how to complete each junction.
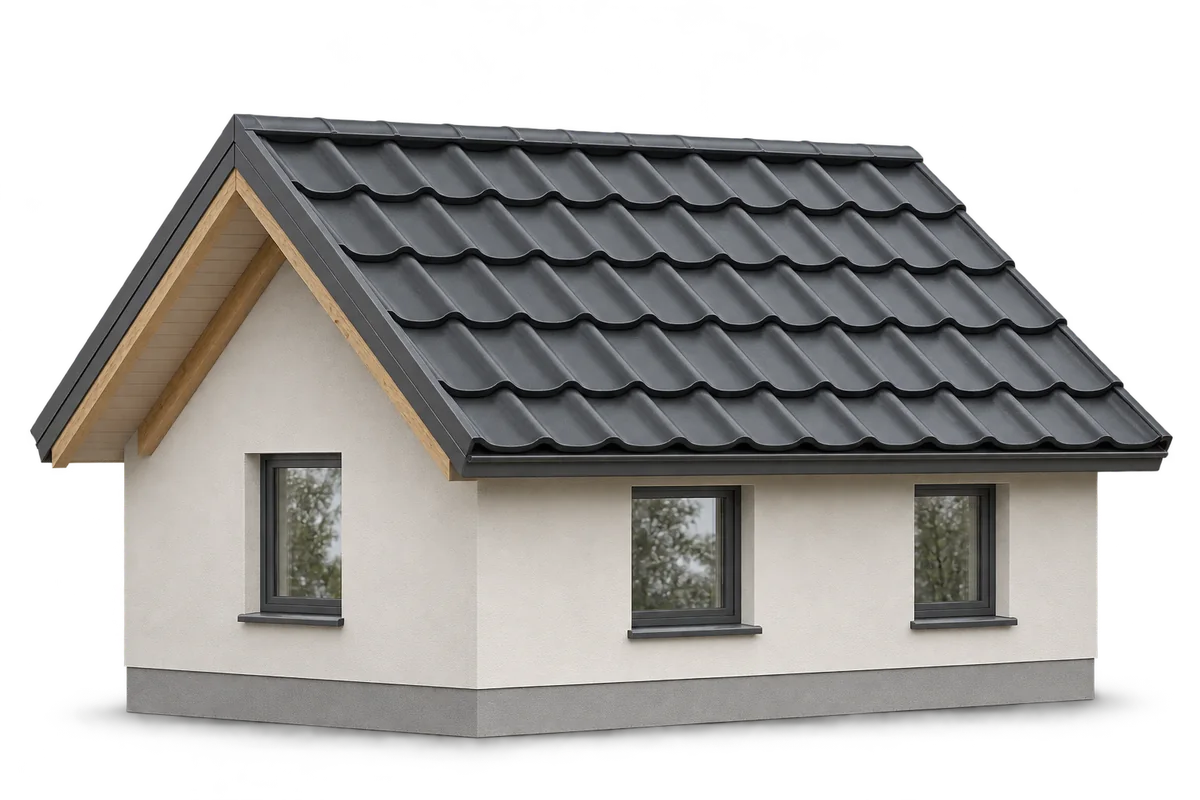
Gable geometry and roof structure layout
A gable roof consists of two roof slopes meeting at the ridge. This shape simplifies the connections, but it does not determine the timber cross-sections or the number of supports. Rafters, collar ties, purlins and posts occur in various arrangements depending on the design; prefabricated roof structures are also possible. Each solution transfers forces to the walls and other parts of the building in a different way, so the fact that there are two slopes alone is not enough to establish the structure.
The roof structure layout follows from the span, the loads and how the space under the roof is to be used. Design requires the pitch, the geometry, the snow load zone, the wind and the weight of all layers. Connections and bracing are also taken into account. A roof structure should not be selected solely from simple span tables in a guidebook, because these ignore local conditions and the details of the supports.
Space in the attic and the order of decisions
Plot the room and circulation layout onto the roof truss drawing before you order timber or prefabricated components. This shows whether a post lands on a doorway line and whether a collar tie runs at a height that allows the loft to be fitted out. If the arrangement conflicts with the interior, ask the designer for a solution on the drawing. Moving an element after assembly can alter the load path.
Converting a loft to a different use means rechecking the layers, ventilation and loads. Adding boards on the inside does not always solve every problem. An owner planning an adaptation should first establish whether the existing truss and the space between its members allow the intended solution, before comparing construction options.
Roof covering: weight, format and drainage
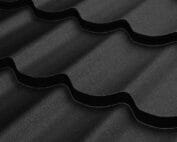
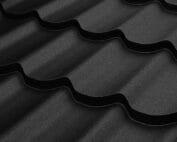
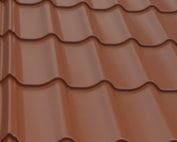
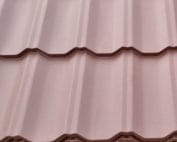
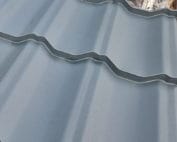
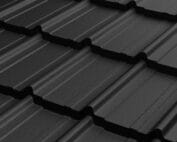
The covering, insulation and the water- and air-control layers are selected separately. Lightweight tile-effect metal roofing can reduce the permanent load, but it does not justify reducing the sections of structural members on its own. With sheet cut to length, the sheet length is matched to the roof slope, which must be reconciled with transport, lifting and thermal movement. Modular metal sheet consists of smaller elements that are easier to carry and to replace locally.
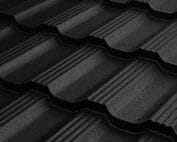
The cost difference should be assessed on a real bill of materials, including laps and waste. T18 or T35 profiles can give a calmer longitudinal rhythm along the roof slope, but choosing a profile requires checking the support spacing, loads and minimum pitch. It cannot be assumed that one pitch suits all metal coverings. The direction of the ribs and the way the sheets are lapped matter for water drainage, especially at longitudinal joints.
Membrane and soffit lining — two different elements
If the quotation lists only ‘roof finishing’, ask separately about the layer beneath the covering and about the underside of the eaves. Beneath metal sheeting, a drainage membrane may be specified to carry away water that gets under the sheets. From below, from under the eaves, the soffit lining is visible. Ordering the soffit lining does not supply material for the membrane or the labour needed to lay it.
The details of the membrane depend on the substrate and the roof construction. Overlaps, penetrations and the connection at the eaves are important. Water should not reach the insulation or get behind the wall finish. The membrane does not replace ventilation of the rooms: removing moisture from the interior and drying out the space beneath the covering are two separate tasks.
Insulation and airtightness
Insulation can be laid between the rafters, below them or above them, depending on the design. A continuous layer reduces the effect of timber elements on heat flow. PIR boards can be useful where a small thickness is needed, but the compatibility of the boards and joints with the chosen moisture design must be maintained. Insulation alone is not enough: continuity of the correct layers and defined ventilation and drying paths are needed.
On the interior side, airtightness at junctions with walls, at windows and at service penetrations is important. Moist air penetrating into cool layers can cause local condensation. With an unheated loft, the thermal boundary of the building may run along the ceiling above the topmost storey; insulating such a loft differs from insulating the roof slope of a habitable loft.
Details, installation and handover
On the roof slope plan, draw the sheets in relation to the chimney, windows and gable edges. Calculating the area alone will not show where a narrow cut piece will arise or which flashing will terminate the covering. Check the fixing layout and the connection of the roof truss to the walls in the design. Only this information together allows you to establish the schedule of flashings and fixings to order.
At handover, check the condition of the coating, removal of metal swarf, execution of the connections and free flow of ventilation. It is worth keeping material documentation and photos of the concealed layers. A gable roof offers the benefit of a simple geometry when a similar order is maintained in both design and workmanship. Good roofing is an important part of the system, but it does not work on its own.
7 branches. Materials closer to your project.