Metal fences
Metal fence pickets, rails and fixings from different suppliers: how do you check that the set is compatible?
Assembling a metal picket fence from several offers requires checking whether the selected parts can actually work together. A similar colour and a matching screw length do not confirm that the whole set is compatible. You need to take into account the geometry of the picket, the support, the material of the rails and the permitted method of fixing. On Izoprofil.com we describe how to check such a purchase before approving orders. The guide covers samples, connection drawings, separating deliveries and later identification of parts. It does not establish a universal spacing of supports or number of connectors. These data must follow from the specific solution and the conditions of the fence. Clarifying compatibility early makes it easier to distinguish a real saving from a set that, after delivery, requires new components or a change to the previously planned installation.
Identify each part independently of colour
Gather drawings and designations for the pickets, rails and intended fasteners.
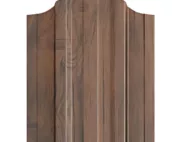
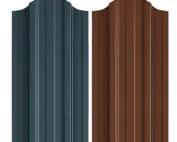
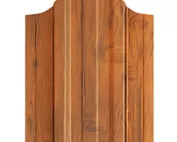
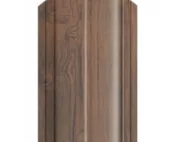
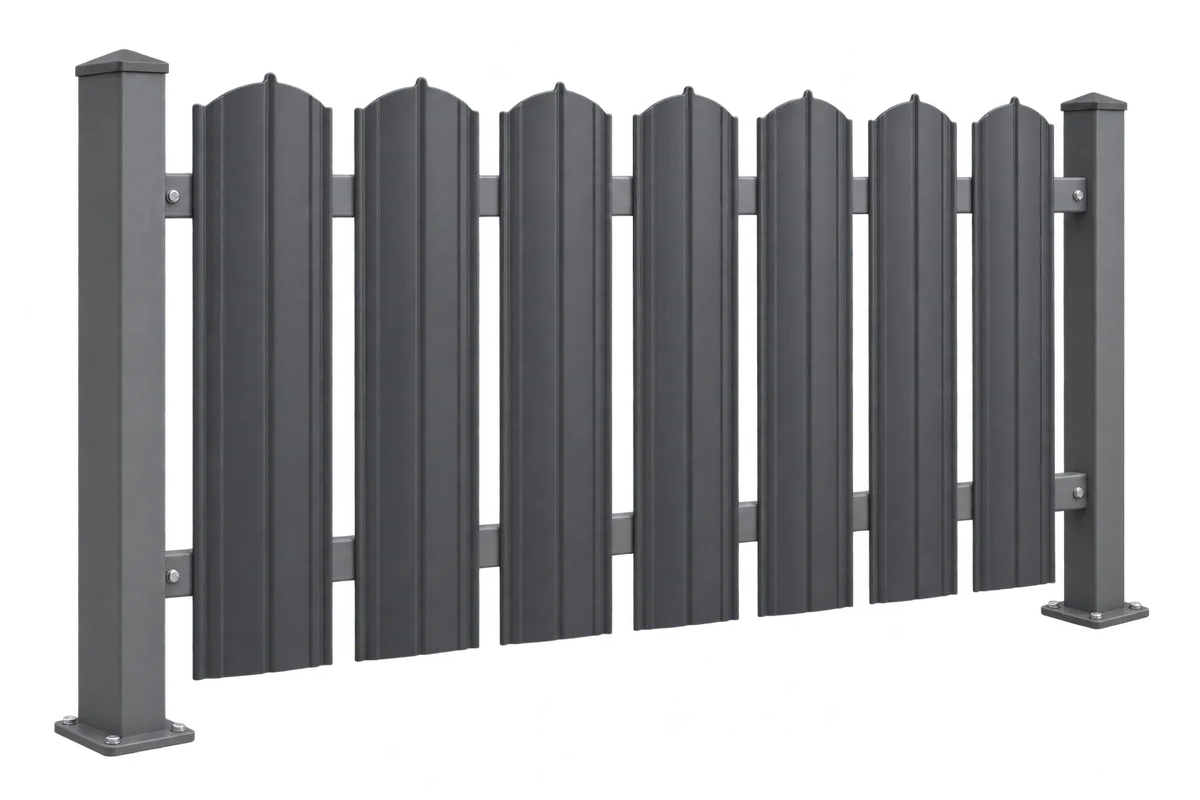
For the picket, check the profiling, width and edge shaping. Trade names from different suppliers do not necessarily describe the same geometry. In the order, it is worth using the designation of the specific model and finish version. A photo of the whole bay helps assess the appearance but does not show all contact points or how the holes are made.
Check the contact surface with the rail
Match the picket sample against the actual rail or its exact cross-section. Note where the component makes contact, where a gap remains and where the fastening is planned. Do not force a fit by randomly flattening the pressing. If the connection requires an additional component, it should be specified before purchasing the whole batch.
Also check tool access to the fastening point and the sequence of assembling the panel. A fastener that can be placed on a loose sample may be difficult to install at a post or at the end of a bay. Such a problem is best identified on a detail drawing. The permitted installation directions for the picket must be confirmed regardless of the installer’s convenience.
Confirm how the materials are connected
The choice of fastener is determined by the materials and thicknesses of the parts being joined and by the recommendations for the given solution. Agree the required corrosion protection, the method of making the hole and the tightening conditions. Do not choose a substitute solely on the basis of a similar head. Excessive clamping force can damage a thin picket or its surface.
With different substructure materials, an assessment of their mutual contact and the humidity conditions is needed. The term “galvanised” alone does not describe every component of the connection. Ask about the correct detail and the protection of cut or worked areas. Do not select an additional separator by trial without checking whether it changes the support and the behaviour of the fastening.
Separate fixed panels from gate leaves
The fixed fence panel, the pedestrian gate and the driveway gate require separate consideration. The weight of the infill and its effect during movement must match the leaf structure. Do not automatically transfer a solution from ordinary rails to a gate frame. Check the frame manufacturer’s scope of supply and the information they need before accepting the chosen infill.
Establish the height, gaps and position of the fence so that the loads on its structure can be assessed. A denser arrangement of pickets changes the degree of screening and the wind action. Adding an extra row after the work is finished is not merely a visual change. This possibility must be considered in relation to the posts, connections and foundations.
Keep orders from several suppliers consistent
When comparing offers, record which company supplies each element and which drawing the quote is based on. Separate the quantities of pickets, rails, connectors and end pieces. A missing item does not become part of the set just because a finished fence is shown in a photograph. Also confirm whether any necessary cutting and edge protection are included in the agreed scope.
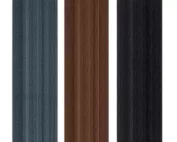
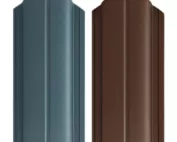
Compare colours on samples of all visible parts. The same colour code may give a different impression with different gloss and texture. Check the finish on both sides, particularly on the leaves and areas visible from the garden. It is worth marking the approved sample set so that a later change to one delivery does not go unnoticed.
Allow for replacing parts later
On unloading, keep the package descriptions and separate the products according to the orders. If you notice a different cross-section or finish, compare it with the approved markings before installation. The change may also affect a part that is not visible once assembled. Checking at this stage is easier than establishing the origin of elements in a finished fence.
Record the designations of the profiles, coatings and fixings used in the individual sections. Store any surplus under the conditions recommended for the product and with clear identification. For future repairs, check the available variant again: a similar name does not guarantee unchanged geometry. Documentation makes it easier to select parts, but does not replace checking their actual compatibility.
7 branches. Materials closer to your project.