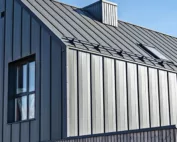
Installation and details
Planning the installation sequence for standing seam roof panels
The key to a successful standing seam panel installation is carefully checking the roof geometry and compliance with the chosen system’s instructions. Before ordering, establish the dimensions of the roof slope, its pitch and the locations of penetrations and flashings, and verify that the panel is approved for that arrangement. Separately, plan the lengths and any transverse joints, bearing in mind that the maximum available length does not always make transport and delivery onto the roof easier. It is also worth preparing a plan for unloading and dry storage to avoid edge damage.
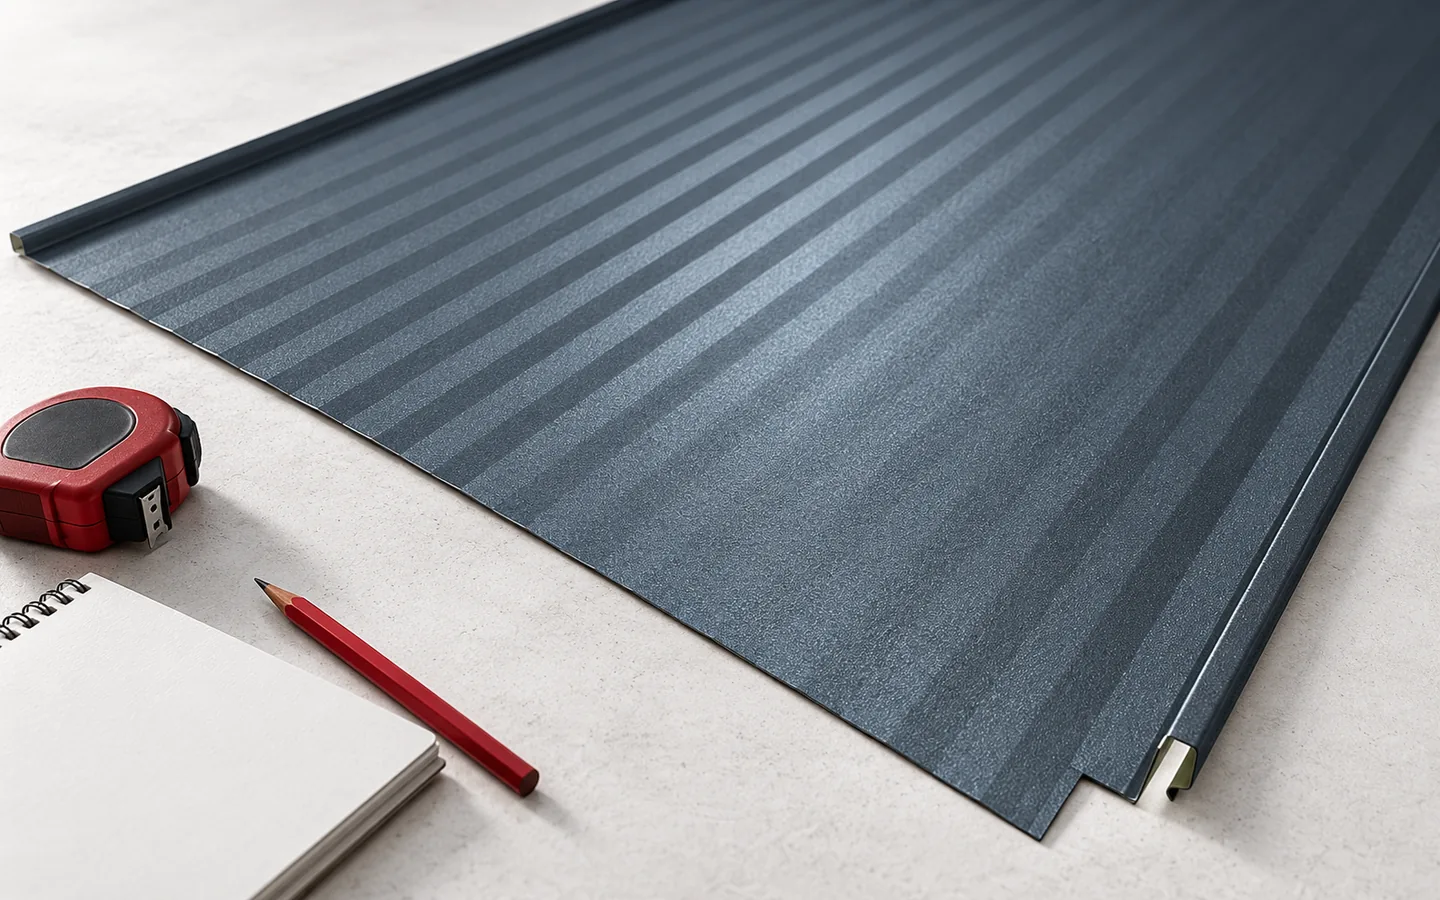
What to check before panel delivery?
To place an order, you need the roof slope dimensions, its pitch, and the locations of penetrations and flashings. It must be verified whether the selected panel is approved for such a configuration. Lengths and any transverse joints are determined separately. The maximum length available for sale will not always be convenient for transport and lifting onto the roof.
Also prepare an unloading plan and a dry place for temporary storage. Long panels should not be lifted in a way that causes them to bend under their own weight. Damage to the edges can make it difficult to close the seam along the entire length. Before work begins, it is worth checking that the accessories are complete. A missing small flashing often halts installation for longer than a missing large sheet.
How to assess the geometry and prepare the substrate?
The supporting plane, the straightness of the eaves and the position of the side edges are checked. The dimensions of opposite sides and the diagonals reveal deviations that cannot be seen from the ground. The panel layout should account for them. Laying parallel to one curved edge can result in a very narrow and difficult-to-fix cut on the other side.
The substrate must comply with the system instructions. The type of support, the separating layer and ventilation are important. Full boarding should not be considered always the better solution without checking the moisture balance. Protruding fasteners and unevenness must be removed before covering. The flat part of the panel will strongly reveal defects in the prepared surface.
How to set out the first panel and the eaves?
Setting out begins with dividing the width of the roof slope. The aim is to maintain the correct overlap and a sensible width of the edge elements. The first panel determines the direction of the subsequent ones. Before it is finally fixed, its position relative to the eaves must be checked. A small error at the start can grow during the laying of the entire roof.
The termination at the eaves is carried out in accordance with the intended detail. It may require appropriate bending and hooking of the edge. It must not be assumed that it is enough to extend the panel like ordinary trapezoidal sheet metal. Water must flow into the gutter, and the edge must remain stable. The ventilation inlet and the drainage from the underlay must also be ensured.

How to fix the panels and close the seams?
Fasteners are selected for the substrate and the system. If the panel has longitudinal holes, the way the screw is seated should allow the intended movement. Excessive pressure can block it. The fixing spacing is determined taking into account the roof zones. At corners and edges, the pattern from the middle part of the roof slope should not be automatically repeated.
The joint closes in the working direction specified for the panel. Check that the seam is correctly engaged along its entire length. Do not randomly hammer a deformed edge just to make the gap disappear. First remove the cause of the misalignment. A traditional standing seam formed with tools requires different operations from factory snap-locking of the panel.
How to make cuts and penetrations?
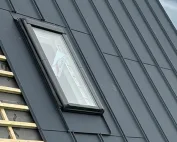
At the roof valley, chimney and window, the water drainage path and the continuity of the substrate must be maintained. Flashings must be adapted to the panel layout, not merely used to mask random cuts. Suitable sealing elements are required at the penetration. Drilling through the flat field and covering it with sealant does not constitute a complete detail.
Cutting coated sheet metal should not overheat the material. Swarf must be removed continuously, including from gaps and flashings. Additional devices are mounted on brackets suitable for the specific standing seam and loads. A similar-looking seam does not guarantee clamp compatibility. Future installation mounting points should be planned before the entire covering is completed.
What to check before handover?
Check the evenness of the lines, the condition of the surface and the completeness of the terminations. It is worth inspecting the joints at the ridge, eaves and all penetrations. Ventilation must not be blocked by incorrectly selected seals. Photographs taken during installation help to assess concealed layers and fixings. They are particularly useful if the cause of a leak has to be determined later.
Slight optical waviness is distinguished from permanent kinking or incorrect support. The assessment must relate to the specific product and observation conditions. Also determine the inspection procedure and safe access. If the budget is critical, compare the entire system with T35 sheet metal beforehand. Changing the type of covering after the substrate has been prepared may already mean additional costs.
7 branches. Materials closer to your project.