Gutters and drainage
Fitting gutters: where leaks start at the eaves
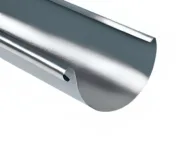
Begin by establishing how water will travel from the roof edge all the way to the ground-level receiver. Match the gutter and downpipe cross-sections to the roof area draining into that section and to the outlet arrangement. Check the fall, bracket spacing and extra supports at corners and outlets. Connect the gutter to the eaves flashing while keeping joints watertight and free to move. Allow for the façade thickness so pipes and brackets do not clash with insulation.
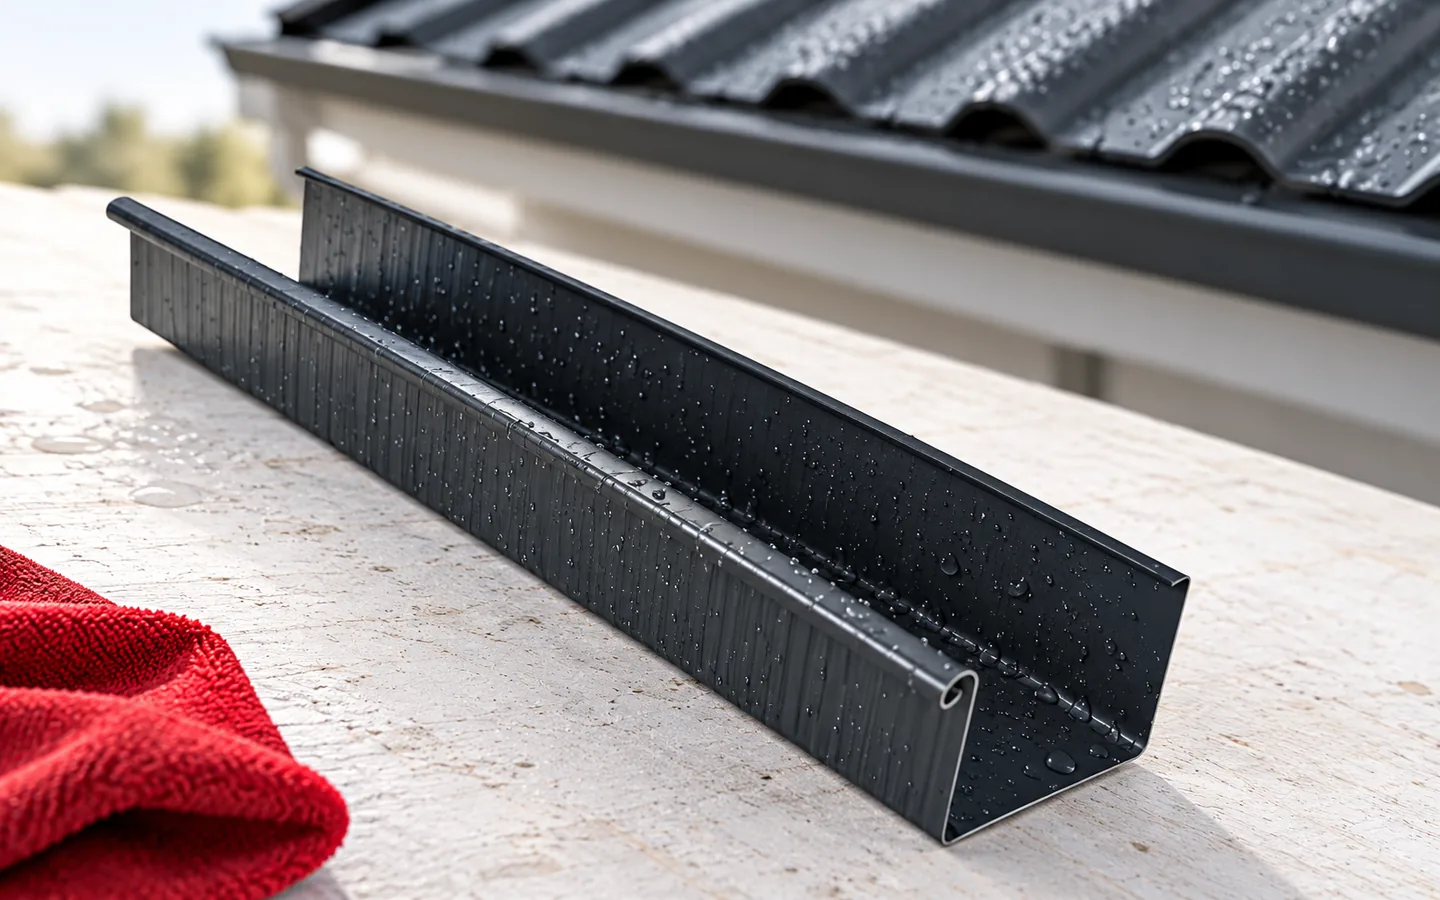
Where to start when selecting a gutter?
The basis is the roof area from which water reaches a given section, and the arrangement of outlets. A long eaves with a single outlet at the end behaves differently from a similar section with an outlet in the middle. The concentration of water from roof valleys is also important. Sizing based only on gutter length ignores these differences and can lead to overflow during heavy rain.
The gutter and pipe cross-sections should form a compatible system. Enlarging the gutter alone will not improve drainage if the narrow point is the outlet or a blocked pipe. Before installation, the water discharge point at ground level must therefore be identified. The planned façade thickness must also be taken into account so that pipes and clamps do not conflict with later insulation.
How to set the brackets and fall?
The brackets must form a line with the fall specified for the chosen system. Spacing and additional supports at corners and outlets are determined by the instructions. There is no single value suitable for all materials. A gutter supported too sparsely can deform under water, ice and debris, even if its cross-section is correct.
The gutter position is also checked relative to the extension of the roof slope. Mounting too high increases exposure to sliding snow. Mounting too low can cause accelerated water to bypass the edge. The installer should check the geometry against the actual covering profile. Basing the decision solely on the eaves board line is often insufficient.
How to connect the gutter to the covering and flashing?
The gutter apron should direct water from the eaves into the gutter. Its edge must not end at a point from which water seeps under the timber. The method of leading the membrane out depends on the entire detail. A drainage path is needed both for rain on the covering and for water that appears on the underlay.
Trapezoidal steel sheet and tile-effect metal roofing have different end geometries. The projection should not be copied from another profile without checking. At the ventilation inlet, the required flow area and bird protection must be maintained. The flashing, gutter and ventilation elements should work together. Each may be correct on its own and yet poorly connected to the others.

How to make watertight connections without blocking movement?
Gutters and pipes change length with temperature. Connectors, seals and fixing points must allow the movement specified for the system. All connections must not be inadvertently stiffened with adhesive or additional screws. Such corrections can cause leaks elsewhere. The correct insertion of components into connectors should also be checked.
Seals should be clean and undamaged. They are not replaced with any compound chosen solely by colour. The outlet hole must have smooth edges and the correct size. Cutting swarf must be removed. Coated metal components require tools that do not overheat the surface or scatter hot sparks onto the finished covering.
What should be checked on downpipes?
Clamps are selected to suit the wall material and the insulation thickness. The fixing must carry the weight of the pipe and the forces occurring in use. It should not rely solely on a thin layer of façade render. The spacing of clamps and the method of routing through offsets are specified in the documentation. Space must be left for thermal movement and service access.
The lower termination may direct water to a suitable receiver or rainwater system. In both cases, undermining of the foundation must be prevented. If a rainwater gully is used, its basket and cover must remain accessible. Concealing them under paving stones or plants makes cleaning difficult and often causes water to back up in the pipe.
How should the drainage be inspected and accepted?
Check the run of the falls, the supports and the connections at outlets and corners. A controlled flow of water helps to detect ponding and leaks. It does not, however, replace assessment of behaviour during heavy rainfall. Before completing the works, installation waste must be removed and the pipes checked for patency. Water should not penetrate behind the eaves flashing.
It is worth establishing a safe method for subsequent cleaning. Gutters require periodic inspections, particularly near trees. If large pools remain after rain, their cause should be clarified. A well-executed drainage system is part of a watertight roof. Its cost is worth calculating together with the covering, rather than treating it as an incidental addition at the end of construction.
7 branches. Materials closer to your project.