Gutters and drainage
Roof access systems: where do you need steps and walkways?
A planned roof access route lets you reach chimneys, antennas and equipment that need inspection or repair safely. It consists of steps and walkways mounted on suitable supports, chosen to suit the covering, pitch and purpose. Fixings are best prepared before the roofing work is finished, so that weathertightness is preserved and thin sheet is not loaded unnecessarily. The route should reach the actual service points rather than stop at the easiest place to fit a component. Bear in mind that it does not automatically serve as a fall-protection anchor point.
Why plan permanent roof access?
Chimneys, antennas, vents and some equipment require inspections or repairs. Accidental walking on the covering can damage it and creates a risk of falling. A planned access route helps to limit these problems. It should lead to the actual service locations, not end where it is easiest to install a single step.
Requirements should be established at the design stage. After adding photovoltaics or new equipment, the layout may need updating. An existing access route should not be obstructed without checking the consequences. The roof is a surface requiring periodic servicing. An aesthetic design should also account for how these activities are carried out.
How do steps and walkways differ?
Steps help to negotiate successive sections of the roof slope, while a walkway provides a larger working area at a chosen location. Their geometry and fixing depend on the system. Surface properties, stiffness and approved application are important. Not every similarly looking component can perform the same function.
Roof access is not automatically a fall protection system. The anchor point for a safety device must be designated for this purpose and properly fixed. It must not be assumed that any walkway, gutter or bracket will withstand the forces associated with arresting a fall. These functions must be distinguished in the design and during use.
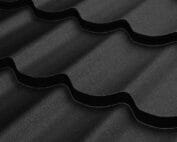
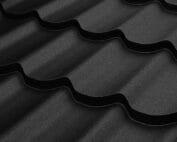
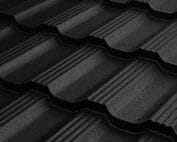
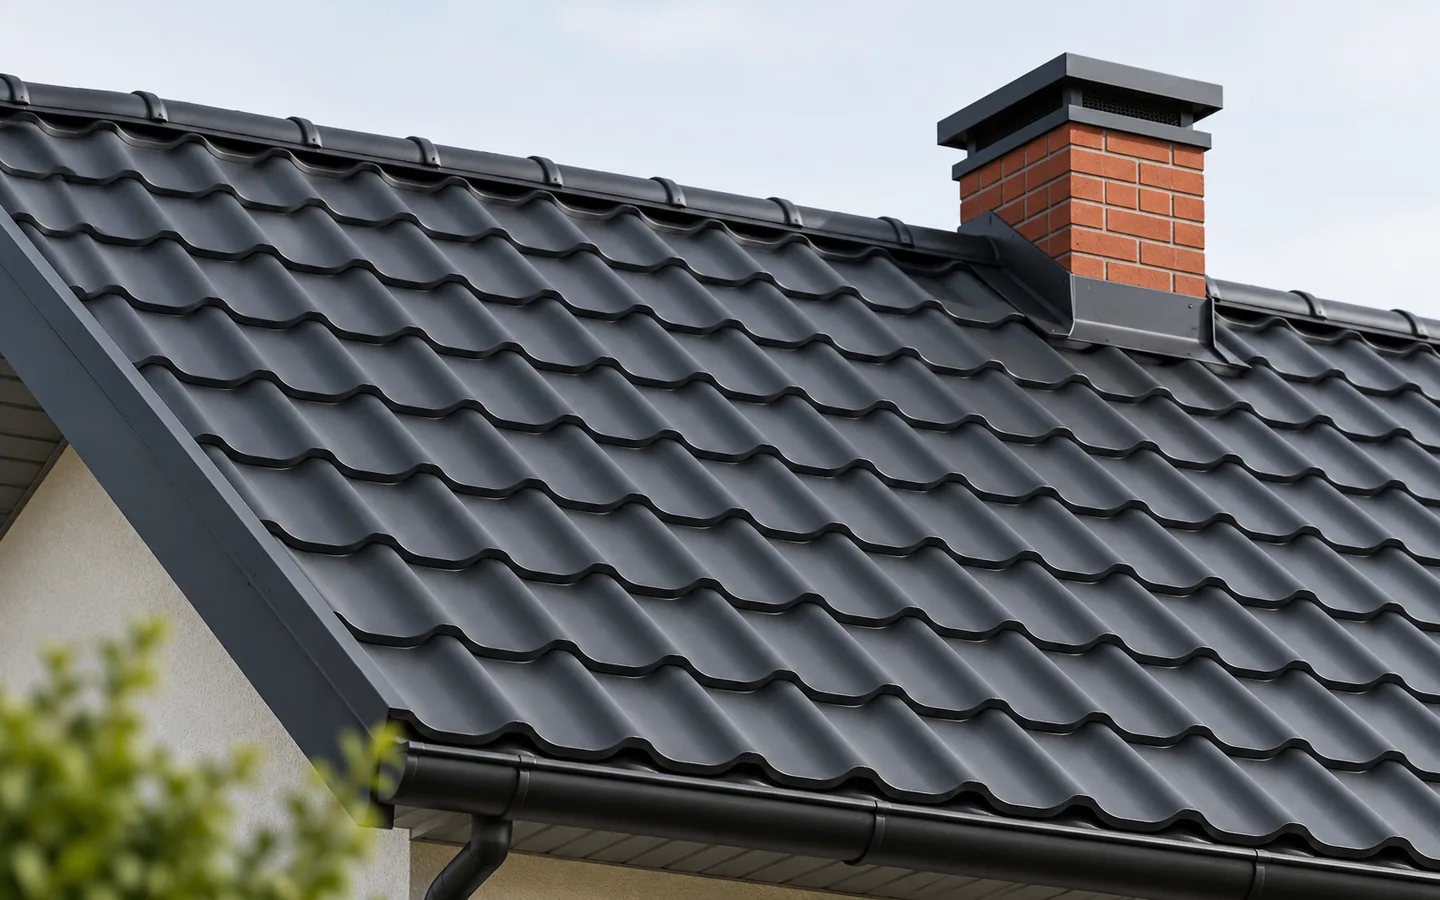
How to choose components for tile-effect metal roofing?
The shape of the bracket should match the covering profile and the intended support. Different tile-effect metal roofing sheets have different corrugations and spacings. An arbitrary bracket should not be pressed on in a way that crushes the sheet. The fixing must transfer the load as described in the documentation while maintaining the tightness of the connection.
Additional substructure components are often required. It is easiest to prepare them before the roof slope is covered. Later installation may require removing part of the covering. Therefore, the list of accessories should be established together with the roofer at the outset. Ordering a matching colour alone does not determine technical compatibility.

What changes with a trapezoidal steel sheet or sandwich panel roof?
In trapezoidal steel sheet, the fixing depends on the geometry and support of the sheet. The designation T35 is not sufficient to select any bracket. The thickness and the arrangement of the structure must be known. In a sandwich panel, the behaviour of the facings and core is also involved. It must not be treated as a thick homogeneous beam into which any fastener can be screwed.
The system requirements should be verified for the specific roof. This also applies to ridge locations and penetrations. A person’s load may act locally, unlike distributed snow. Therefore, an incidental test by stepping onto the element is not the correct method of accepting load capacity. Compliant selection and installation are required.
How to determine the access route?
The route should connect a safe entry point with the service points. Slope, obstacles and the position of equipment must be taken into account. It is worth limiting the need to cross roof valleys and delicate elements. If a solar installation is present on the roof, the designated service space must be maintained.
Access to gutters and outlets may also require planning. Not every location needs a permanent walkway, but the method of servicing should be realistic. On a tall building it is not enough to assume that a ladder will somehow be added later. The choice of solution is best agreed with the people who will carry out the periodic work.
The spacing of the elements should correspond to the roof pitch and the system documentation. It should not be copied from a photo of a roof with a different pitch.
How to inspect the installed roof access?
The condition of the fastenings, coating and connections to the covering is checked. A loose element or corrosion requires assessment before use. After strong wind or work by another team, it is worth inspecting the area around the brackets. It must not be assumed that an accessory installed many years earlier has retained full functionality without inspections.
Keep the documentation of the model, the installation method and the permitted use. When the covering is replaced, the suitability of the accessories must be reassessed. Well-planned roof access facilitates servicing and protects the roof from accidental damage. Its value becomes apparent on every subsequent visit, not only on the day the project is handed over.
Snow, ice and wet surfaces change the conditions for movement. The presence of steps does not permit work in any weather. People entering the roof still need appropriate preparation and safeguards suited to the task.
7 branches. Materials closer to your project.