Installation and details
How to lay modular tile-effect metal roofing
The key is to check the roof geometry and confirm that the delivered material matches the documentation before laying begins. Compare the model, coating, colour and condition of the sheets, then inspect the pitch, diagonal equality, eaves line and the plane of the battens. These parameters determine the layout of every row and whether the locks will engage without forcing. Before installation, it is worth making a trial connection of several elements on a flat surface. Remember that a small sheet makes work easier but does not forgive incorrect laps.
What should you check before starting installation?
Compare the ordered material with the documentation. Check the model, coating, colour and condition of the sheets after delivery. Then check the pitch and geometry of the roof slope. The equality of the diagonals, the eaves line and the plane of the battens affect the layout of all rows. Do not attempt to hide a large inaccuracy by tightening the covering more strongly.
Read the instructions for the specific system, even if you have previously installed similar sheet metal. The seams, mounting holes and working direction may differ. The sheets are not freely interchangeable. Also prepare the flashings and fasteners. A missing matching component at the eaves or chimney can interrupt installation at a moment when the roof slope remains exposed.
How should you prepare the layers and battens?
The underlay should drain water in accordance with the design. Its laps, penetrations and connection at the eaves must be made before covering. Damage is repaired with materials approved for the given product. An unrolled membrane without sealed details does not yet form an efficient protective layer.
The batten spacing results from the covering module. In many solutions the module is 350 mm, but this is not a universal rule. The first spacing also depends on the eaves and gutter. The counter-battens must provide the intended ventilation space. Its inlet and outlet should remain clear after all flashings and bird guards have been installed.
Why is the first row so important?
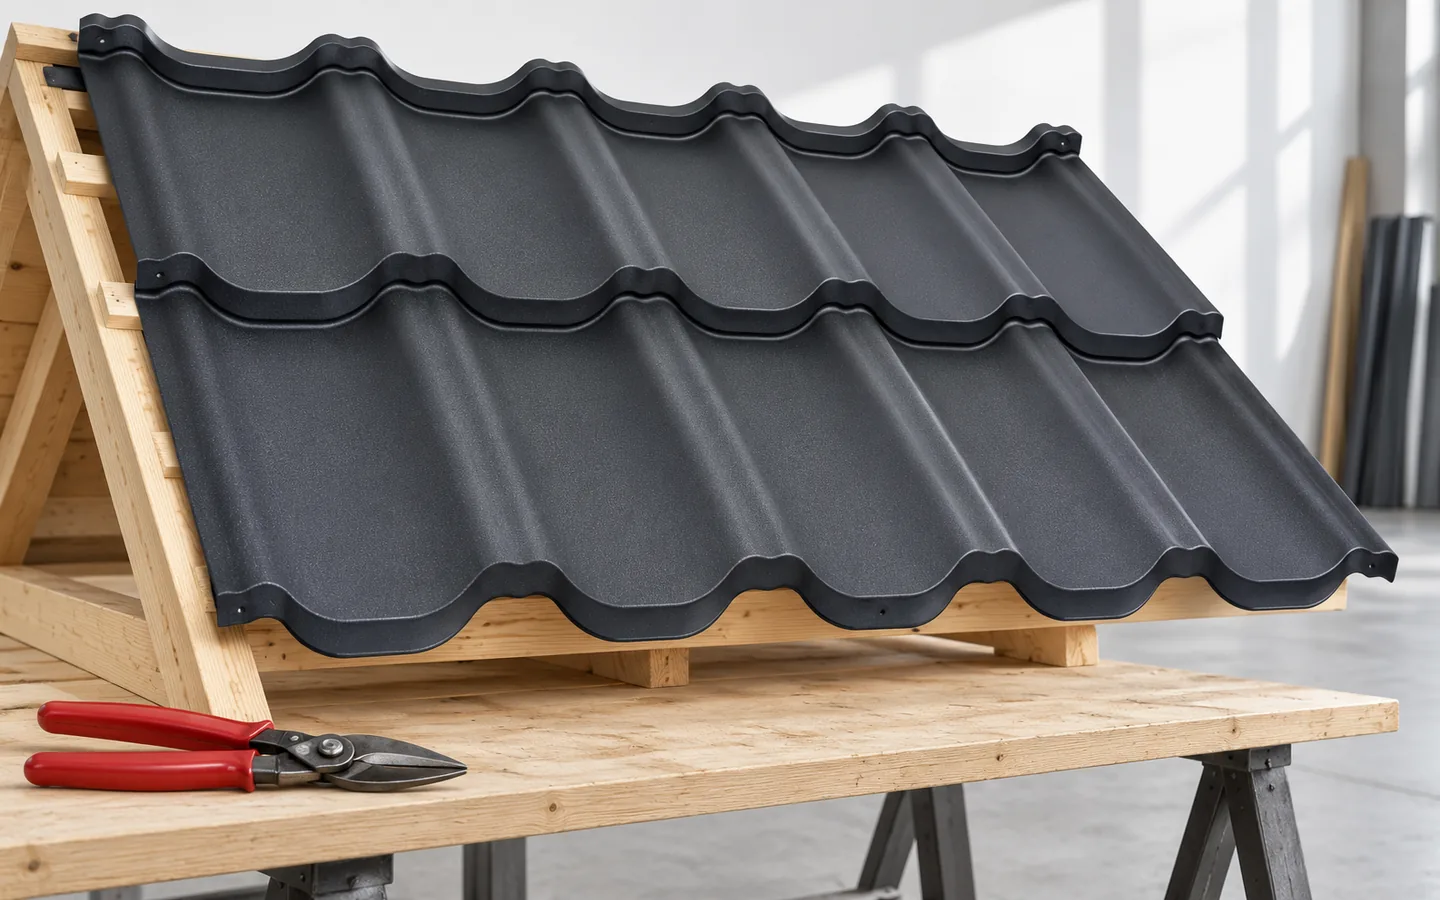
The initial sheets determine the direction of the subsequent covering. A slight skew can accumulate and become apparent at the upper edge of the roof. Therefore the first elements are laid after a control line has been set out. Their position should take into account the overhang at the eaves and the way they connect with the next row.
A trial assembly of several sheets helps check whether the seam closes without forcing. If an element does not fit, the cause must be found. It may be incorrect sequence, uneven battens or deformation. Do not squeeze the seam with an arbitrary tool to hide the error. This can damage the coating and impair subsequent tightness.

How should you select and tighten the screws?
Fasteners for fixing the covering in wood or steel may have different designs. Screws that join the sheets together serve a separate function. The locations and number of fixings are specified by the system and the requirements for the specific roof slope. Edge zones may be more heavily loaded by wind. The design should not be replaced by a single number of screws per metre for every roof.
The sealing washer should be pressed down in accordance with the instructions, without being excessively deformed. A fastener that is too loose may allow water in, while over-tightening can damage the connection. The screw should work in the intended substrate. A fixing in a location without support does not become correct simply because it looks level with the others.
How to make cuts and handle difficult details?
Tools intended for coated steel sheet are used for cutting, in accordance with the instructions. Overheating of the edges and scattering of hot filings must be avoided. After completing the work, the surface should be cleaned. When carrying sheets, they must not be dragged over one another. A small module can also become permanently deformed or scratched.
Roof valleys, chimneys and windows require planned water drainage. Proper flashings matter more than a large amount of sealant. The elements should retain the required overlaps and the ability of the material to move. At the ridge, protection against precipitation must be combined with ventilation. Sealing the space under the ridge cap tightly can create a new moisture problem.
What does the post-installation inspection cover?
Check the covering line, the sheet connections, the fixings and the flashings. Remove filings, cuttings and other waste. Inspect the gutters and the water drainage path. It is worth checking the places that were walked on during the work. Damage requiring touch-up is repaired with a suitable product, not with any paint in a similar colour.
Photo documentation of the layers and details facilitates acceptance. Keep information about the model, the coating and the material batch. This will help select the right parts for future repairs. Installation should end with the handover of the usage and inspection rules. An even appearance of the roof slope is important, but a full assessment also includes elements not visible from the ground.
During all work, fall protection and proper organisation of material supply are needed. A wet covering and strong wind are reasons to reassess the conditions. The pace of laying the modules should not determine the limits of safe work.
7 branches. Materials closer to your project.