PIR insulation
How do you use the PIR calculator to match the thickness to the actual wall?
The PIR thickness calculator is useful for comparing options if it describes the wall you actually intend to build. The most common mistakes concern units, the properties of the masonry and omitting the facings. It is worth treating the calculation as the first stage of selection and then checking moisture, junctions and the compliance of the whole solution. Entering a random U-value into the form can lead to choosing insulation that is too thin or unnecessarily thick. The target follows from the function of the building, the operating temperature and the adopted requirements. A wall in a flat is analysed differently from a partition between a warm workshop and a cool store.
Start with the target defined by the design
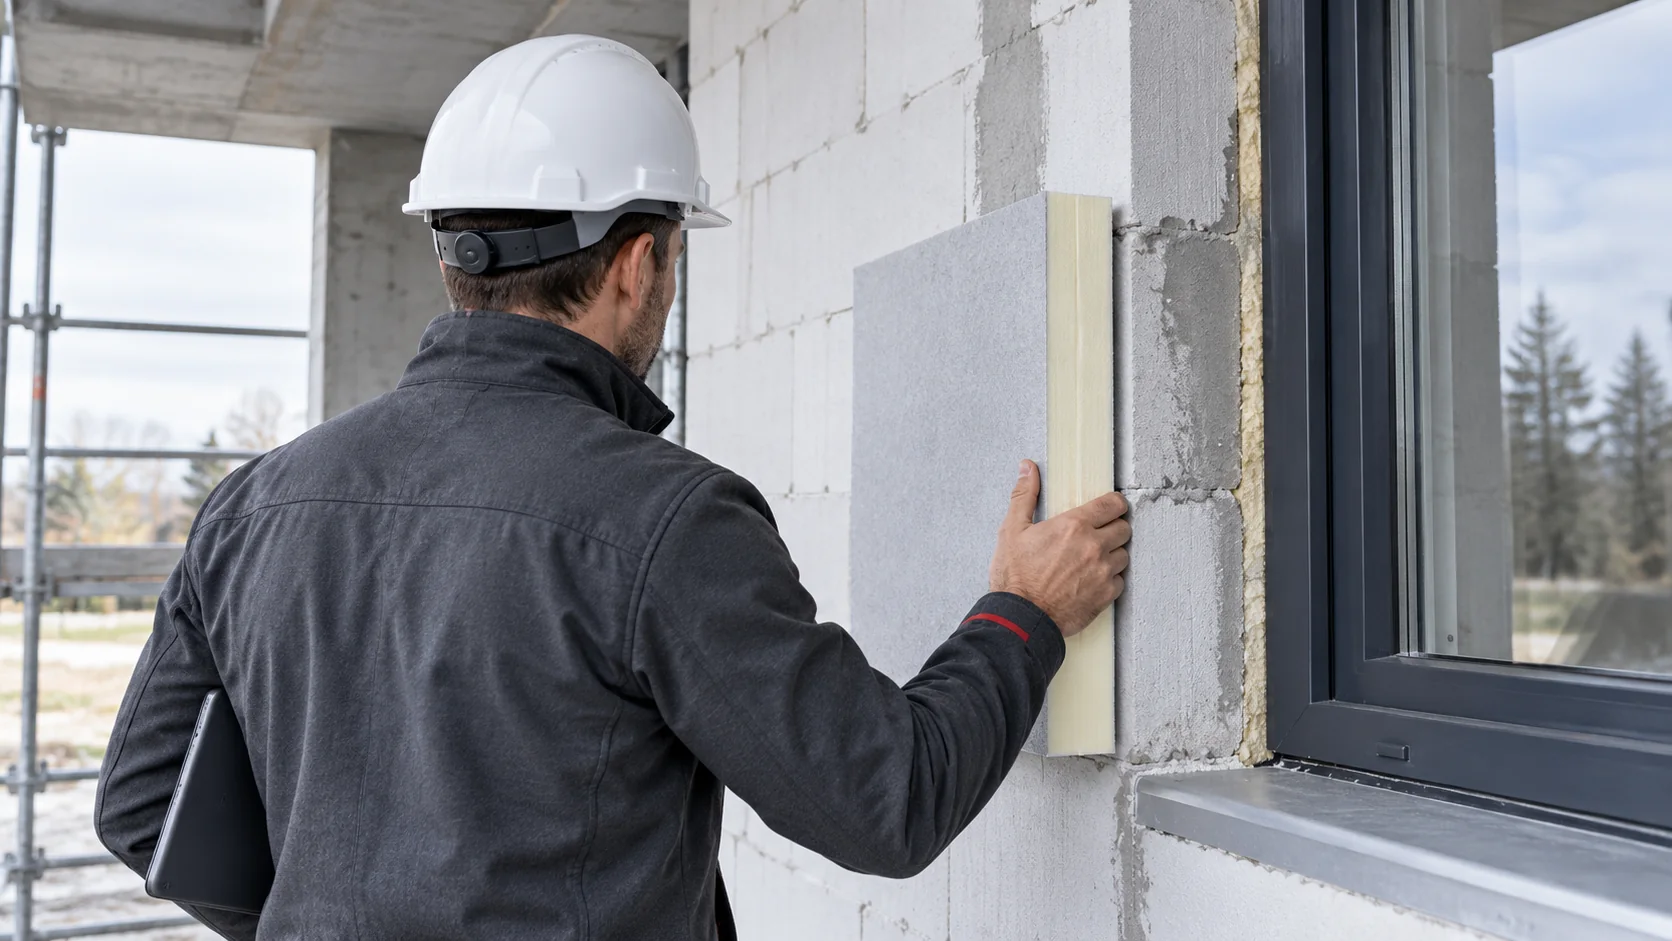
Also record whether the insulation will be external or internal and what finish it will receive. These decisions affect the choice of PIR variant. The calculator should not suggest a board for plaster solely on the basis of the best lambda occurring in any variant of the material. The correct range of application is selected first.
Complete all layers and units
The thickness for the formula d/λ must be given in metres. For 80 mm this is 0.08 m. An error between millimetres and centimetres can change the result many times over. When describing the wall, use the properties of the finished layer appropriate to the type of elements and the method of bricklaying. Do not select data solely by a similar name.
Add finishes and surface resistances in accordance with the calculation method. Check whether the program adds them automatically. If you use the declared R of a composite board, establish which layers it covers. Double-counting plaster or omitting a significant facing distorts the comparison of variants.
Calculate the approximate required thickness
Let us take for the example a target U of 0.22 W/(m²K) and a resistance of the remaining layers of 0.95 m²K/W. The required total resistance is 1/0.22, that is approximately 4.55 m²K/W. About 3.60 m²K/W remains for the insulation. At a lambda of 0.022 W/(m·K) this corresponds to approximately 79 mm.
An available 80 mm board can therefore proceed to further assessment. This is a simplified calculation without all corrections and thermal bridges. It is not confirmation of compliance for a specific building. If you select a different PIR variant, check again the lambda and the declared resistance for the chosen thickness. Rounding down may remove a small margin.
Read the result as a description of one option
The report should record the layer arrangement, their thicknesses, thermal data and the assumed conditions. A result without this information is difficult to check later. Two printouts with identical U can describe completely different walls. It is worth giving the variants simple names and keeping the calculation date.
The comparison should also show the total thickness of the finished assembly. For internal insulation, a batten grid or service void may be added. For external walls, include adhesive and finish. If centimetres at the window are the priority, the dimension of the whole system will be decisive, not just the number on the PIR label.

Check the conditions the form does not see
A one-dimensional calculator does not automatically describe ring beams, reveals and junctions with the ceiling. Nor does it predict the effects of a leaky connection at a pipe. These locations require details and, depending on the situation, additional calculations. A correct result in the middle of the wall does not eliminate local cooling at a corner.
Thermal assessment must be separated from moisture assessment. Especially with internal insulation, driving rain, initial moisture and the ability to dry out are significant. Where necessary, the designer chooses a more detailed analysis method. A thickness selection program is not a tool for detecting all risks in the assembly.
Turn the calculation into an unambiguous specification
Once the variant is approved, record the board and facing type, thickness, required parameters and the method of connection to adjacent elements. For external walls, conformity of the entire system is required. For internal lining, the airtight layer and protective covering must be specified. Do not order solely the item ‘PIR of the calculated thickness’.
Before work begins, check that the delivered product matches the assumptions. A change of facing or substitution of the masonry requires reassessment. It is worth passing on the reveal and ceiling junction sections to the contractor as well. The calculation becomes useful only when its assumptions can be reproduced in the finished wall.
Questions and answers
Should the calculator use lambda or R?
It may use both routes if the data are correct. The declared resistance must correspond to the selected thickness and cover the appropriate layers of the product.
Does a result of 79 mm mean ordering exactly that board?
No. An available variant is selected and the whole assembly is checked. Tolerances, adjustments and project requirements are taken into account, rather than rounding the result without analysis.
7 branches. Materials closer to your project.