Internal insulation
Internal insulation. How do you compare the loss of space with the thermal benefit?
If a wall separates a heated room from a cooler one, first establish where the thermal boundary runs, because insulating from the unheated side is sometimes considered in order to preserve space in the living area. This is not an automatic decision – access, fire conditions, pattern of use and correct detailing of junctions all matter. The choice of insulation side also affects how the wall temperature will change and its ability to dry out. Neglecting these criteria can worsen the thermal and moisture balance of the partition, so the choice of insulation side requires analysis rather than a default solution.
Starting point: thermal requirements and room geometry
Every internal insulation option must first meet the same thermal requirements. Only against that background can thickness be compared. The thermal resistance of a homogeneous layer is its thickness divided by its thermal conductivity λ. A material with a lower λ achieves the same resistance at a smaller thickness. For example, a 100 mm layer with λ 0.022 gives around 4.55 m²K/W, while a similar resistance requires around 141 mm of a material with λ 0.031. This is, however, a comparison of the layers alone, without lining or thermal bridges, so it does not prove that one material will always be half as thick.
The actual installed thickness is the sum of insulation, lining, adhesive, any supporting framework and the allowance for levelling the substrate. A supporting framework several centimetres deep can change the comparison more than the difference between two insulation cores. Before deciding, therefore, prepare a section for each option under consideration at the window, floor and door. In a narrow passage, door handles and the swing radius of the leaf also matter. The space gained depends on the room dimensions and the whole layout, not on a single percentage.
How much space do you really gain?
The space saving can be calculated, but it has to be done for the specific case. For a wall 4 m long, reducing the finished build-up by 4 cm gives around 0.16 m² of additional floor area. This is a purely geometric result, with all other dimensions unchanged. In practice, in a loft, changing the thickness of a sloped ceiling section affects headroom and furniture placement, so simply multiplying the perimeter by centimetres does not describe the full effect. In a small hallway, a few centimetres can be worth more than in a large living room, but that requires individual assessment.
There is no single percentage gain in floor area that can be attributed to every interior. For one layout, 4 cm may be noticeable; for another, it may go unnoticed. So compare variants on cross-sections and calculate the resulting floor area for the specific room. Bear in mind that thinner insulation must not accidentally mean weaker thermal performance. Before comparing thicknesses, establish the thermal resistance to be achieved, then check how much space the entire buildup will take up, including the finish.
What determines which side the insulation goes on
Before you compare build-up thickness, establish where the thermal boundary runs and whether the wall needs insulating at all. Insulating from the unheated side is considered to preserve space in the living area, but the decision hinges on access, fire requirements, how the space is used and sound detailing at junctions. A partition between rooms at similar temperatures need not be insulated. The side you insulate also changes the wall's temperature and its ability to dry out.
Internal insulation changes the moisture conditions of the external building element. Before installation, assess the existing layers and the conditions in the room. Damp masonry should not simply be covered with new lining: remove the source of water and check the substrate, especially at the floor and reveals. A sealed board surface only works correctly within a properly connected system. Perimeter details, junctions and cable penetrations require suitable solutions, and ventilation of the room must not be overlooked.
Installation variants: what simplifies assembly and what complicates it
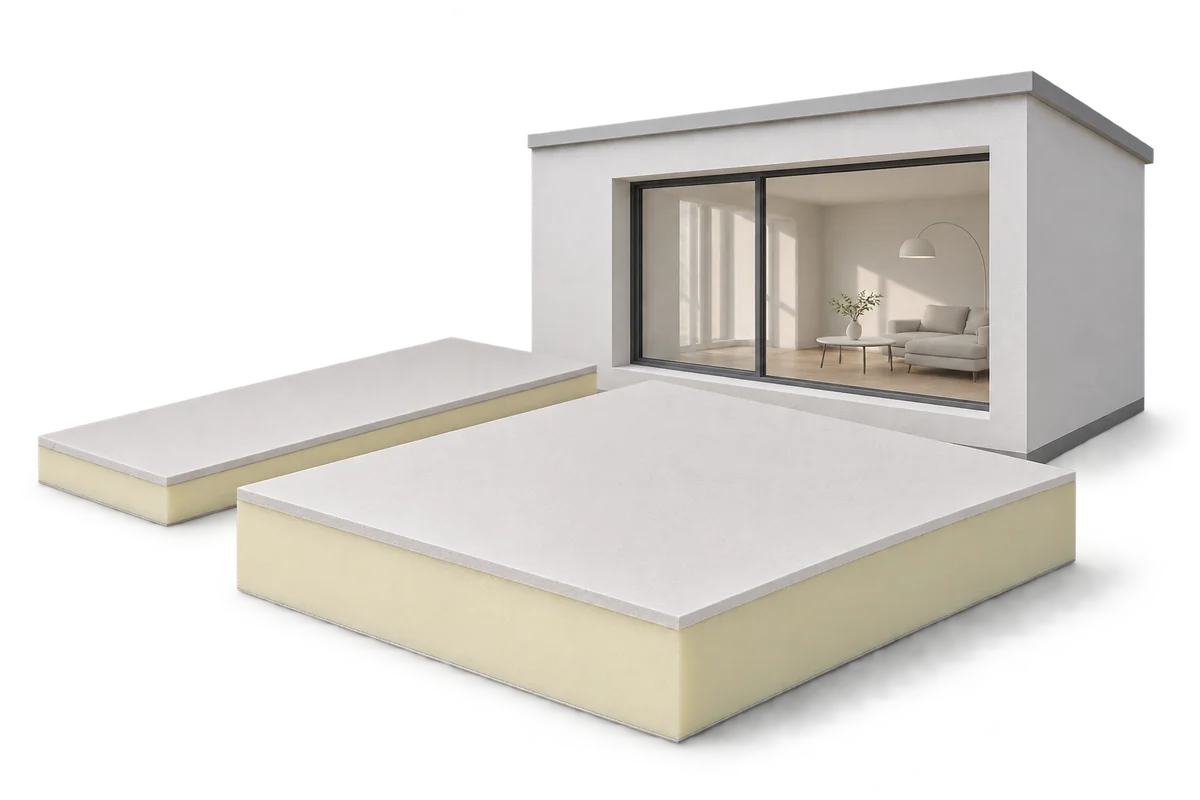
PIR boards can reduce the thickness of insulation needed inside, and the factory-bonded version with a plasterboard facing simplifies finishing. Such a board can combine insulation with a decorative finish, but its overall dimension still has to be checked in section. A low-λ core alone does not guarantee that the whole buildup will be half as thick; the difference depends on the reference material and the other layers. Even a slim subframe can tip the result. So do not base your decision on a promise of a fixed percentage of extra floor area.
Thinner insulation does not replace an acoustic solution based on adequate mass and layer build-up. If acoustic comfort matters to you, check whether the chosen buildup delivers it. A PIR board with a plasterboard facing can help, but fixing equipment and routing cables need thought. Before installation, establish where heavy items will be fixed and how services will be routed so that airtightness is not compromised. All of this affects the final thickness and cost.
Costs: count the finished area, not just the material
Compare the full cost of the finished area, including fixing, plastering and changes to window sills and services. The thinner option may need different details at junctions, which changes the labour input. There is no single financial assessment valid for every room, because available space and the benefit to the user carry different value. In a small hallway a few centimetres may be worth more than in a large hall. So weigh both cost and the real gain in space in your assessment.
Keep a sample and documentation of the chosen variant. Before installation, agree how equipment will be fixed and the cable route. A PIR board with a plasterboard facing can make it easier to combine insulation with the finish, but it does not remove the need to check the whole buildup. The most convincing argument is the calculated thickness of the entire solution and a verified design, not a promise of a fixed percentage of extra space. That way you avoid both oversizing and insulation that is too thin.
How to carry out the comparison step by step
Begin by establishing the required thermal resistance for the building element. Then measure the room and prepare section drawings at the window, floor and door for each option. Allow for every layer: insulation, adhesive, lining, supporting framework and any allowance for levelling. Check whether the version with factory-bonded plasterboard fits within the intended dimension. Calculate how much floor area you gain in the specific room, not in an averaged example. Compare the cost per finished square metre and the impact on services and window sills.
Finally, assess whether the space gained has real value for the user. In a small room even a few centimetres can improve functionality, while in a large room the difference may be insignificant. Bear in mind that a slimmer build-up will not compensate for a poorly sealed junction at the window, which can cause local problems with temperature and moisture. Correct installation of the whole system is therefore just as important as thickness. Documentation and a sample will let you verify the assumptions before work begins.
7 branches. Materials closer to your project.